Mead, Part 2: Must Make Mead!

Must Make Mead
Beer is made from pitching yeast into wort; Mead is made from pitching yeast into must, the blend of honey and water. To start, we are going to focus on a simple wildflower honey traditional. The recipe is for 5 gallons (19l), but can scale down or up to your preferred batch size. We MUST (ha!) get organized. This is the second article in my Mead series, and hopefully, you read the Introduction and gathered up some of the ingredients.
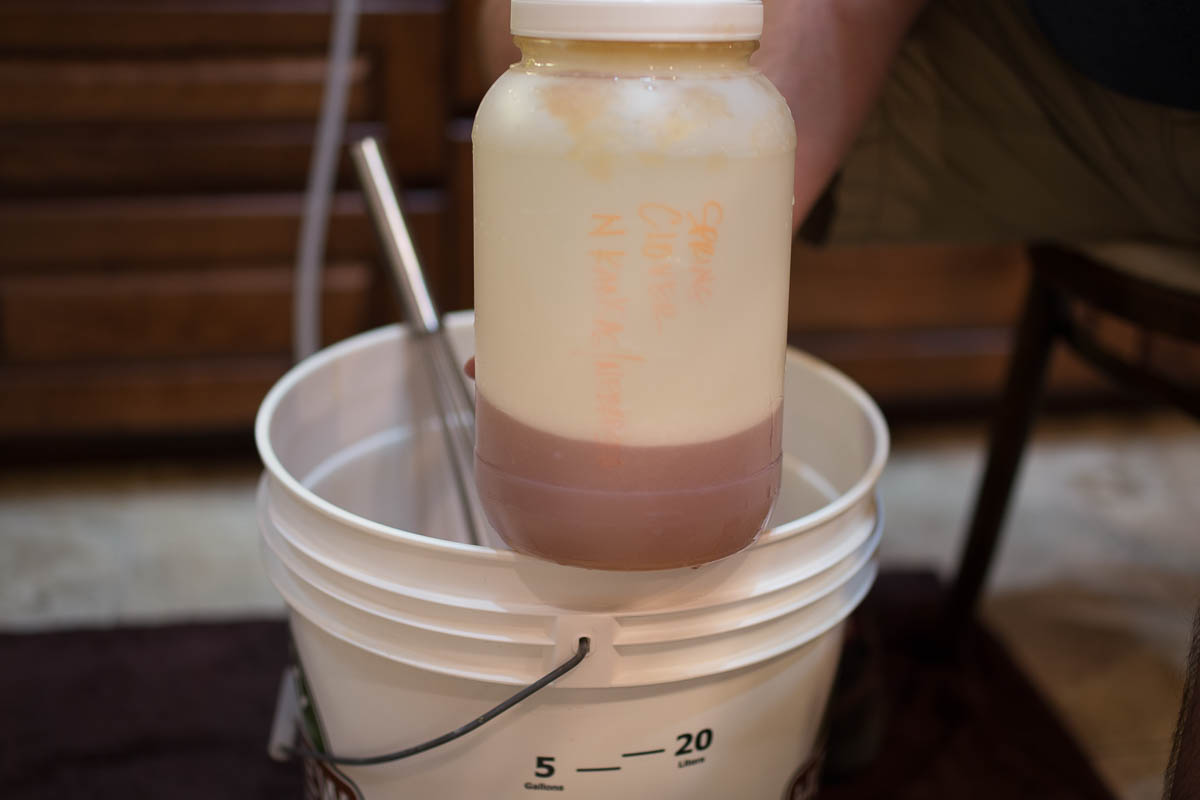
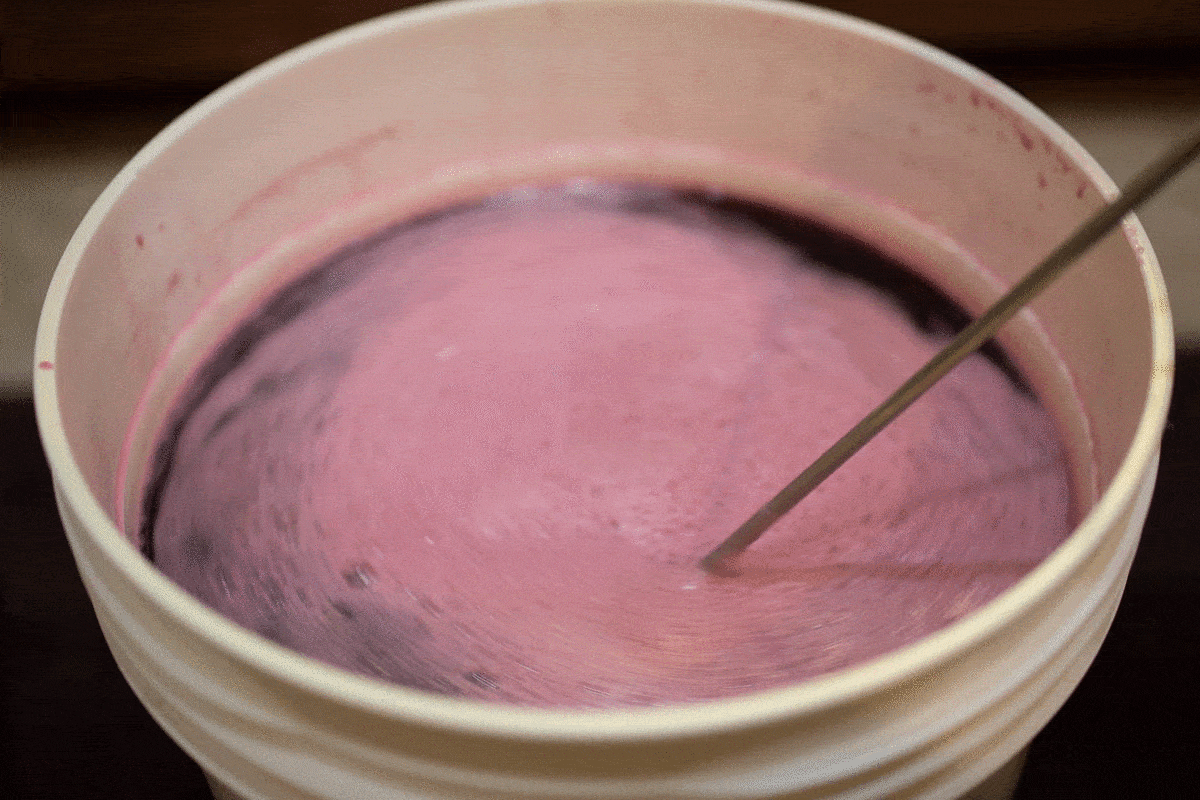
Note: This is a long form article. More photos will be added as I can gather for the degassing and racking steps. The photos are of a current Blackberry Mead batch I have working. The steps are pretty much identical.
Article Index:
- Making the Mead Must
- Rehydrating the Yeast
- Handling Primary Fermentation
- Degassing the Must
- Must pH Management
- Nutrients
- Recap
Making the Mead Must
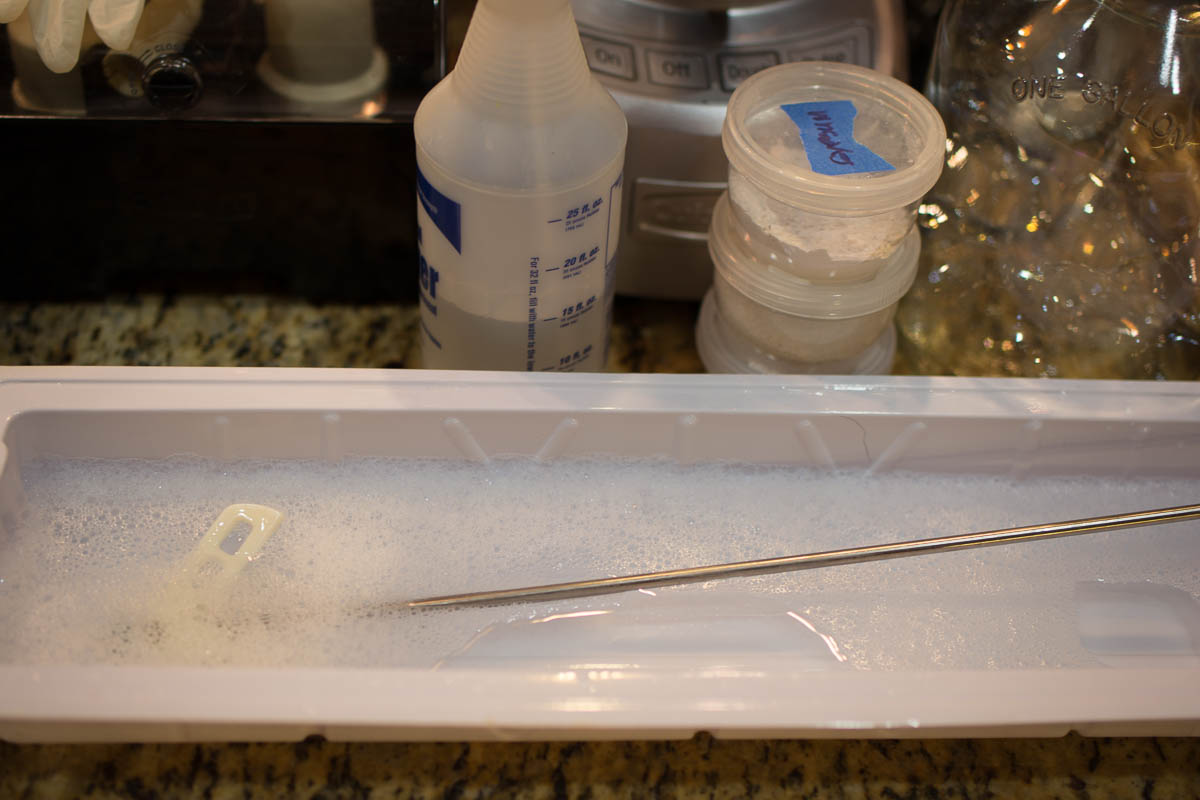
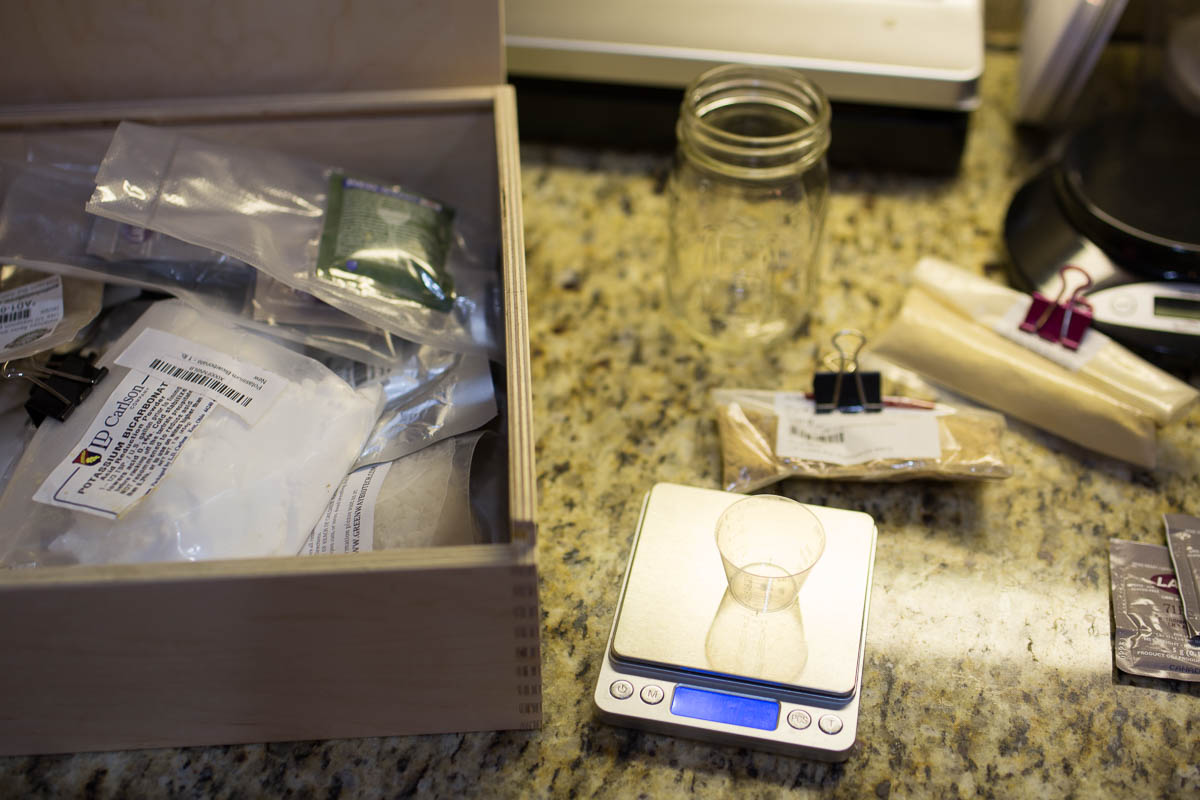
First, let's make sure that everything touches your must is clean and sanitary, including a stirring device (spoon, whip, whisk), the primary fermenter vessel (I recommend a bucket with lid over a carboy for primary), a mason jar and lid, and any surfaces you are working on. Cleaning is critical to remove any organic material that can hold unwanted bacteria. Using a product like PBW can free up krausen rings and other debris, allowing for a gentle scrub (don't scratch). Rinse and then sanitize. Sanitation is a preventative and helps to eliminate bacteria that may remain on a surface. I like to use Star San for sanitation and keep a spray bottle of it handy. Please use these chemicals at their recommended rates. If your honey is ready, sanitize the exterior of the container as well.
Grab a sheet of paper and keep pertinent notes, just like you would in brewing beer! Note everything as you do it.
The Base Recipe - Wildflower Traditional, dry, still, standard
- 12 lb (5.4 kg) Wildflower Honey, or 1 gallon. Buy extra honey if you plan to back sweeten after ferment.
- 4 gal (~19 l) "Spring Water", I use the grocery brand.
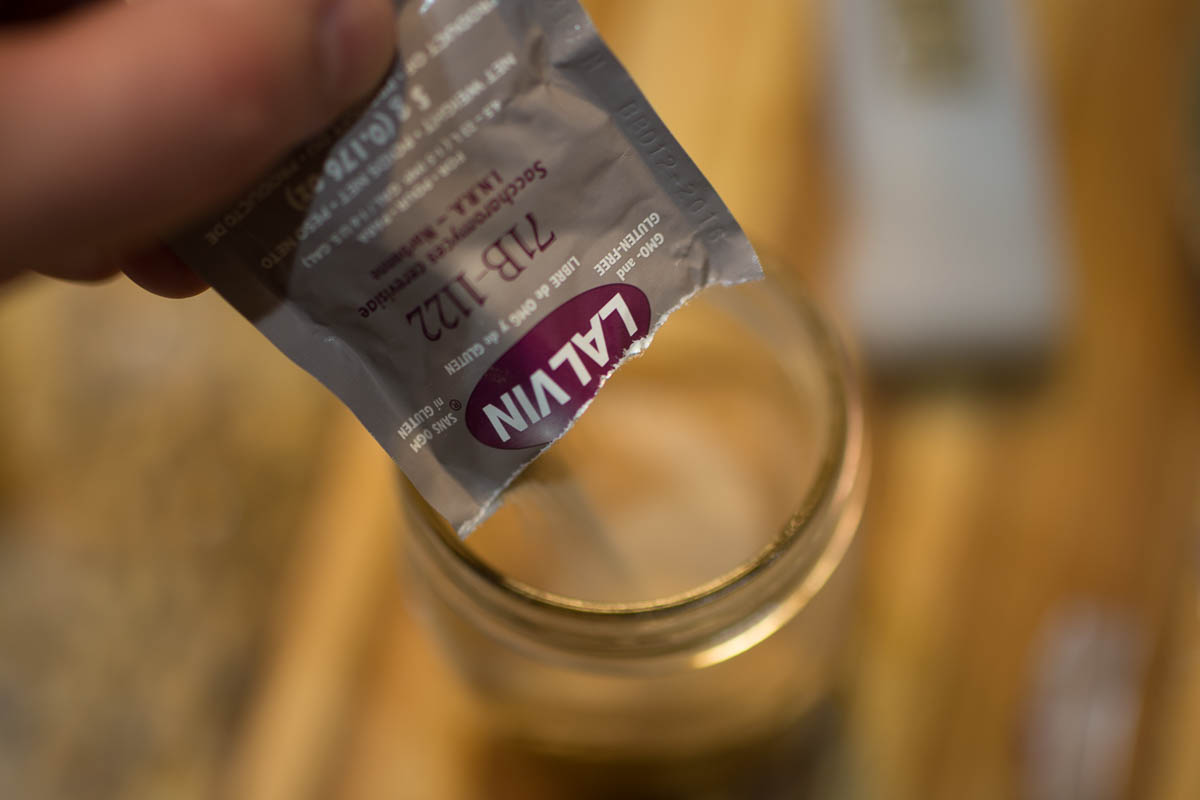
- 1 package (5 g) Lalvin 71b-1122 wine yeast. Also known as "Narbonne"
- Approximate OG: 1.085 / 21.5 brix
- Estimated FG: 1.000 / 0 brix
- Estimated ABV: 10.5%
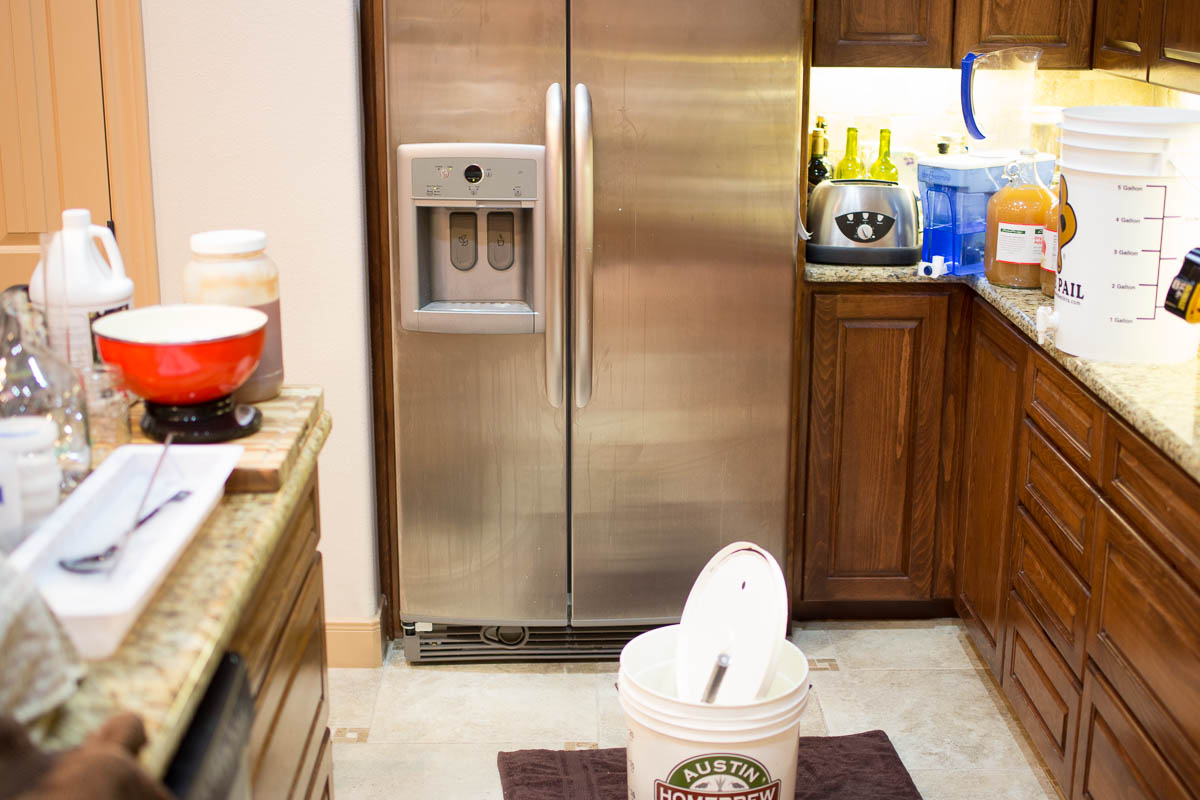
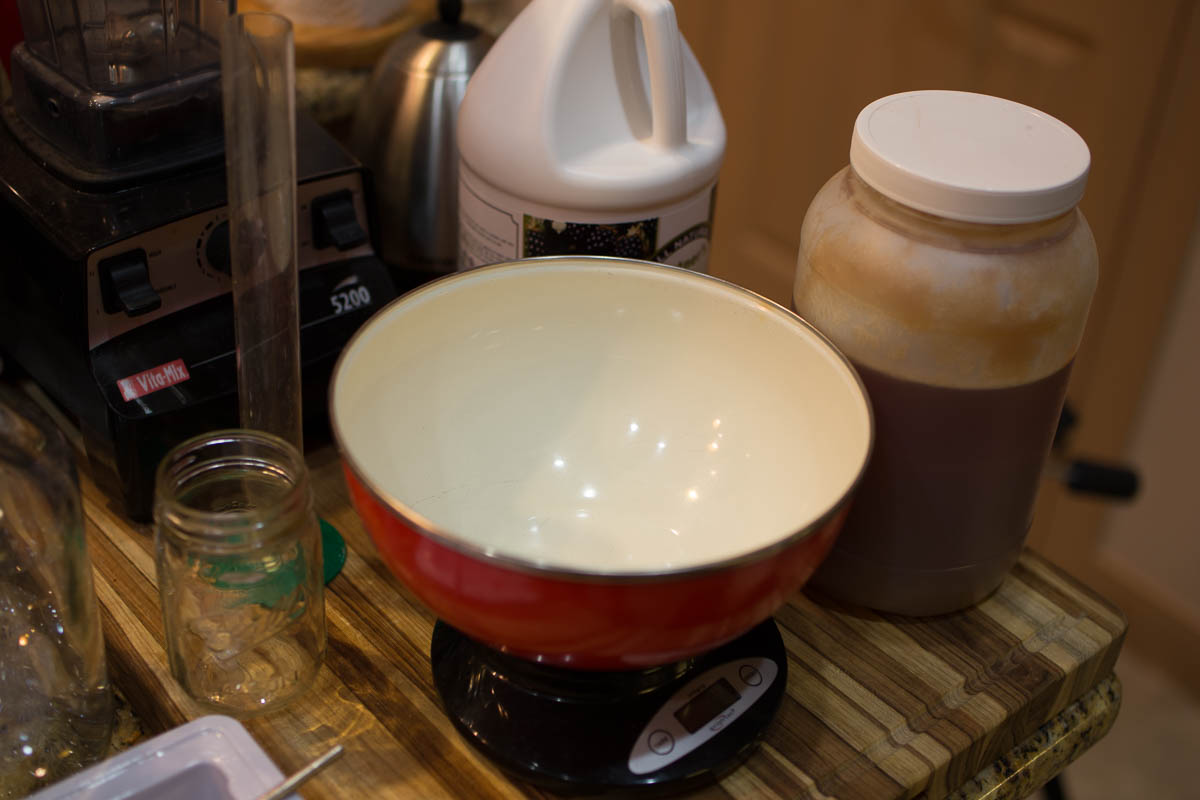
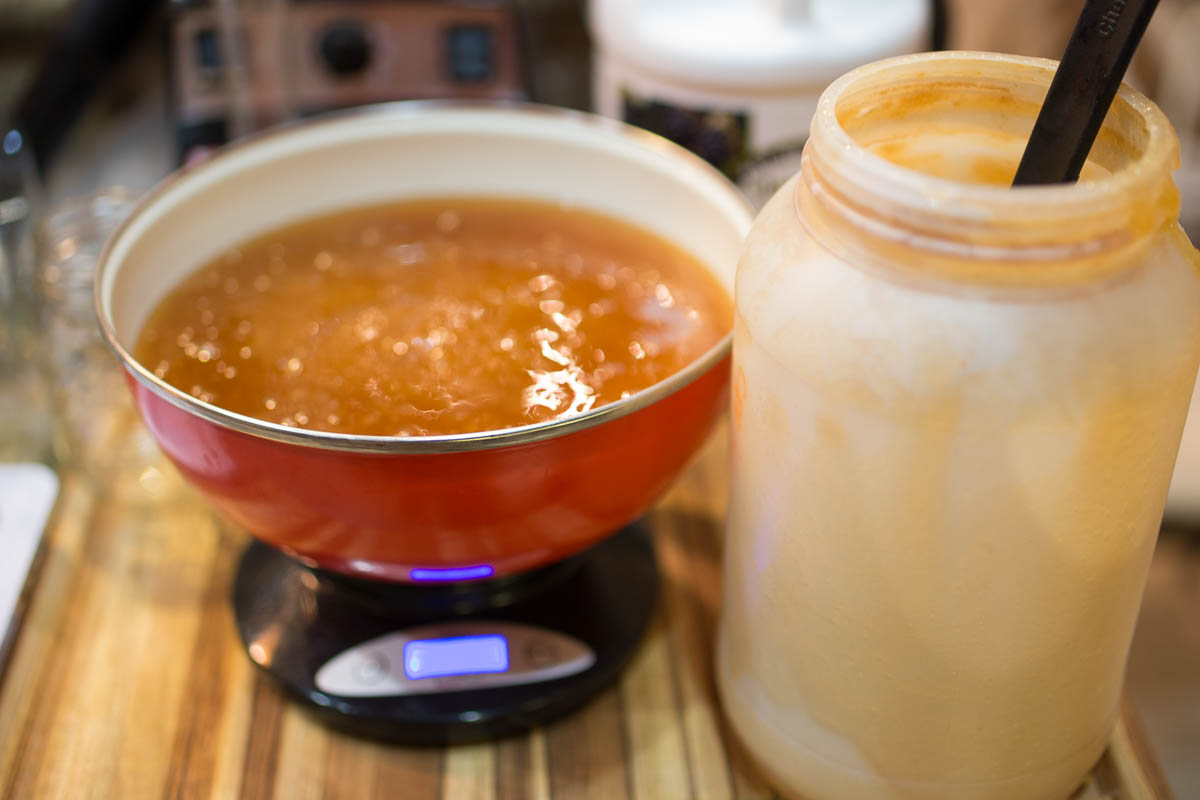
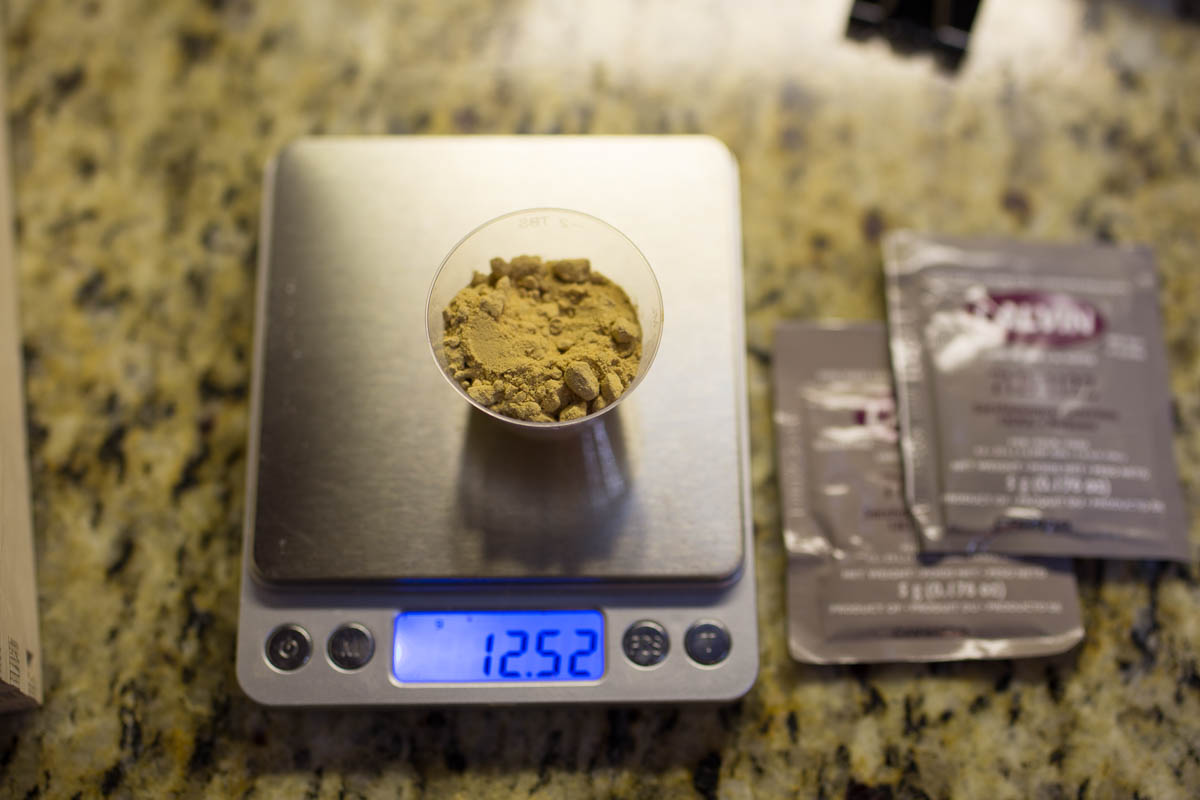
Dealing with honey can be a sticky mess, so find a place in your kitchen that is easily cleaned and with adequate room. I like to place the honey and water jugs on the counter, and set the fermenter bucket on the floor on top of a few towels. There is a reason this blog is named "Accidentalis" - I can be accident prone - the towels are insurance. Weigh out the honey using a large sanitary bowl and a scale. Pre-measured 1 pound packages are nice, but a 5 gallon bucket weighs roughly 60 pounds, too heavy to lift and pour reasonably, even a 12 pound gallon jug is unwieldy. I like a large shallow spoon or ladle to transfer honey over the bowl, and a scraper to help the transfer. Be careful with large jugs or buckets - a spill of a gallon of honey is an epic chore to clean up in the kitchen (seriously epic - I would rather have a tooth drilled)!
If your honey is crystalized, which seems to happen a lot in my bulk purchases, softening honey with a little gentle heat will help it to flow. If you can manage without the heating, don't bother.
There are a couple of strategies here, so pick the one that works best for your capability:
- Strategy 1 - Heat the honey. Placing the bucket or jar in hot tap water for several hours may help to liquify more of the honey. Make sure the lids are very tight, and do not let the honey go any hotter than 120F/49C to avoid volatilizing flavors or aromas. With 1 gallon jugs, I set them into my sous vide circulator bath and just let it go for 24 hours and the honey is warm and pours easily. For 5 gallon buckets, I use a larger bucket with an electric bucket heater in the bath, overnight. You can also let this cool down too room temperature as recrystallization will take some time.
- Strategy 2 - Heat the water to about 130F/54C. The excess heat of the water will help the crystalized honey to dissolve as we combine. The challenge is the time to cool down the must to a good pitching temperature will take longer. If you are handling hot water, then wear gloves, good shoes and probably pants.
- Strategy 3 - Do nothing, just mix. Expect to have a few challenges, although at this ratio, the honey should dissolve. In reality, a little honey separation isn't a problem. It will make having an accurate pre-fermentation gravity reading a challenge. You can always just use the provided gravity (from a calculator) as an estimate.

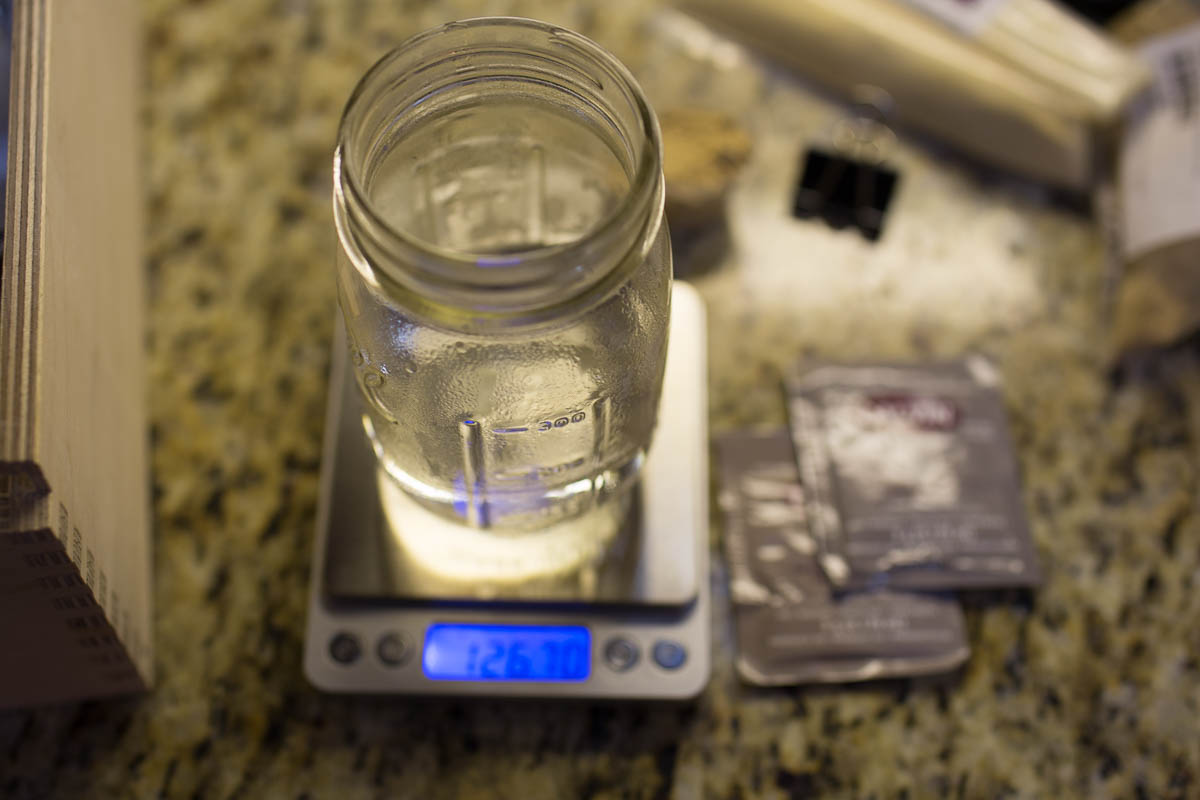
Add 1/2 of the water into the fermenter. Then pour in roughly half of the honey.
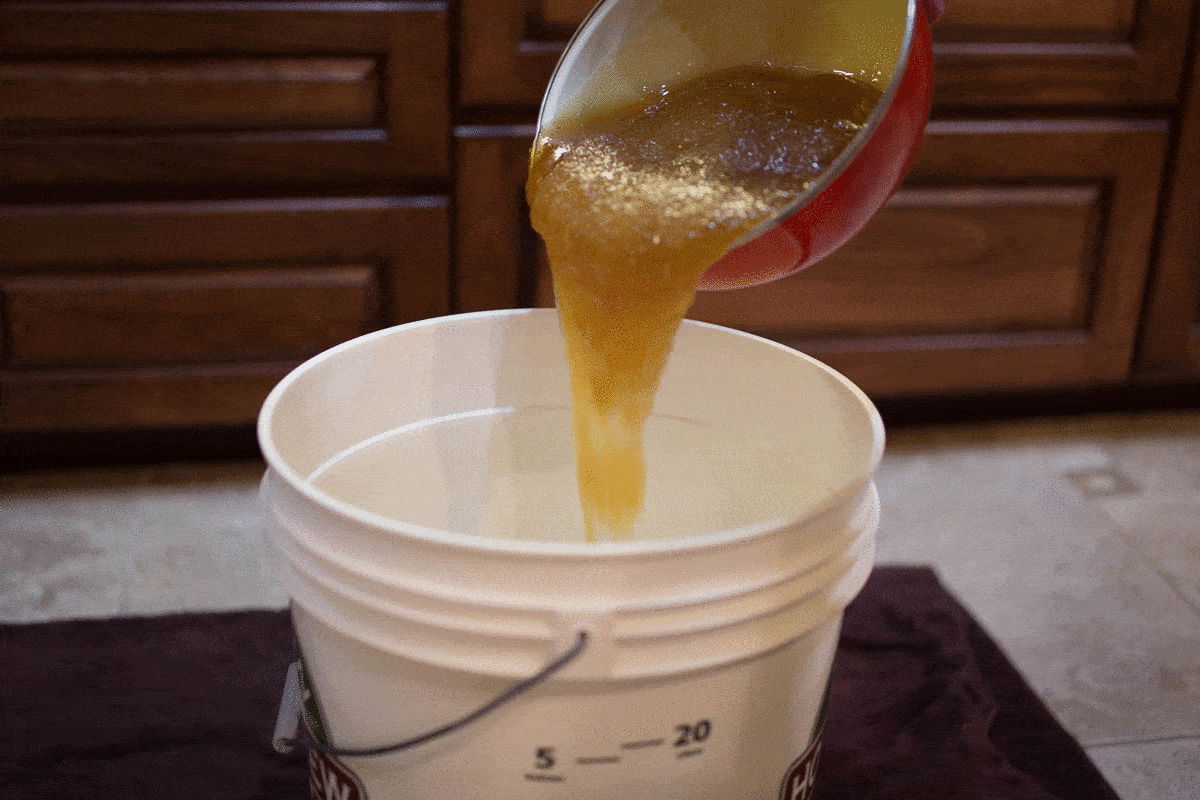
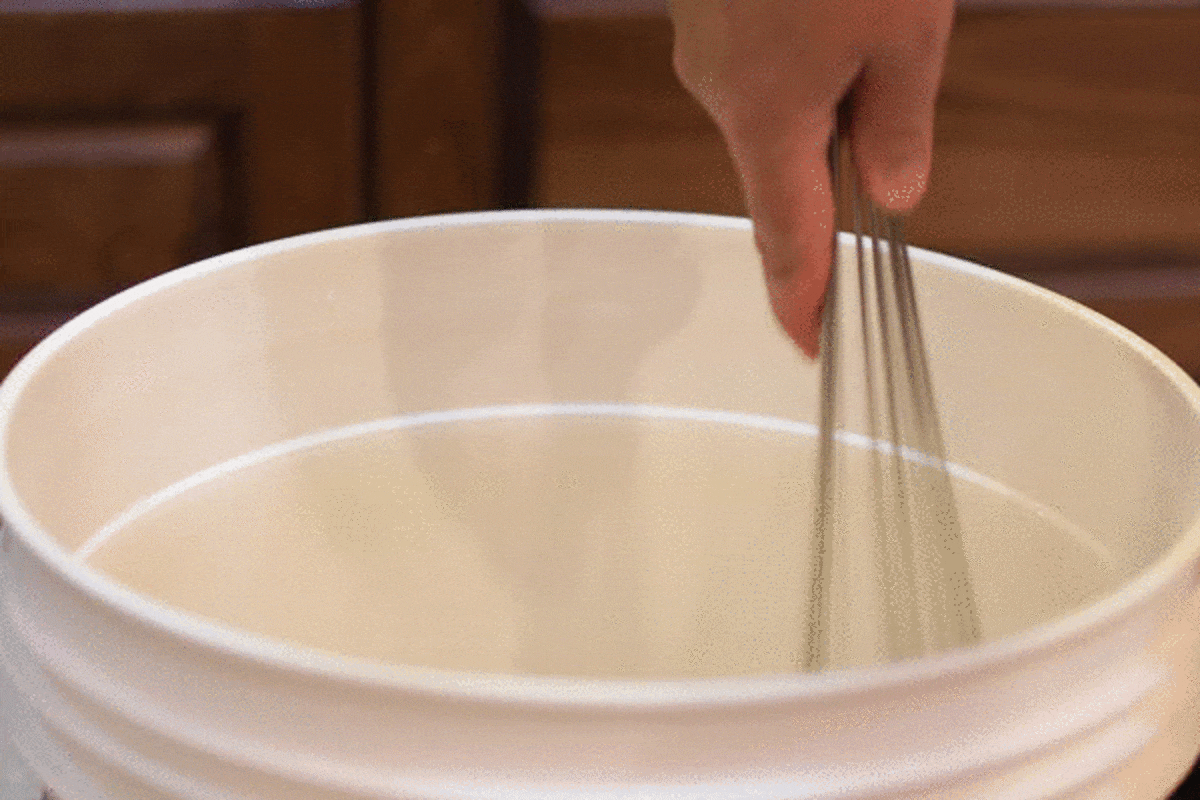
Blend this vigorously (a whisk or whip really helps) without splashing everywhere. The goal is to dissolve as much of the honey as possible. Continue to add a little honey and a little water (reserve a few pints of the water) until all the honey is used.
Set aside a pint of water and heat up (microwave or kettle) to near boil. Add this hot water to the honey container with the lid and swirl until the remaining honey is dissolved. Add this to the must. Do the same with other vessels if using fruits or fruit juices. Get all of the goodness in there.
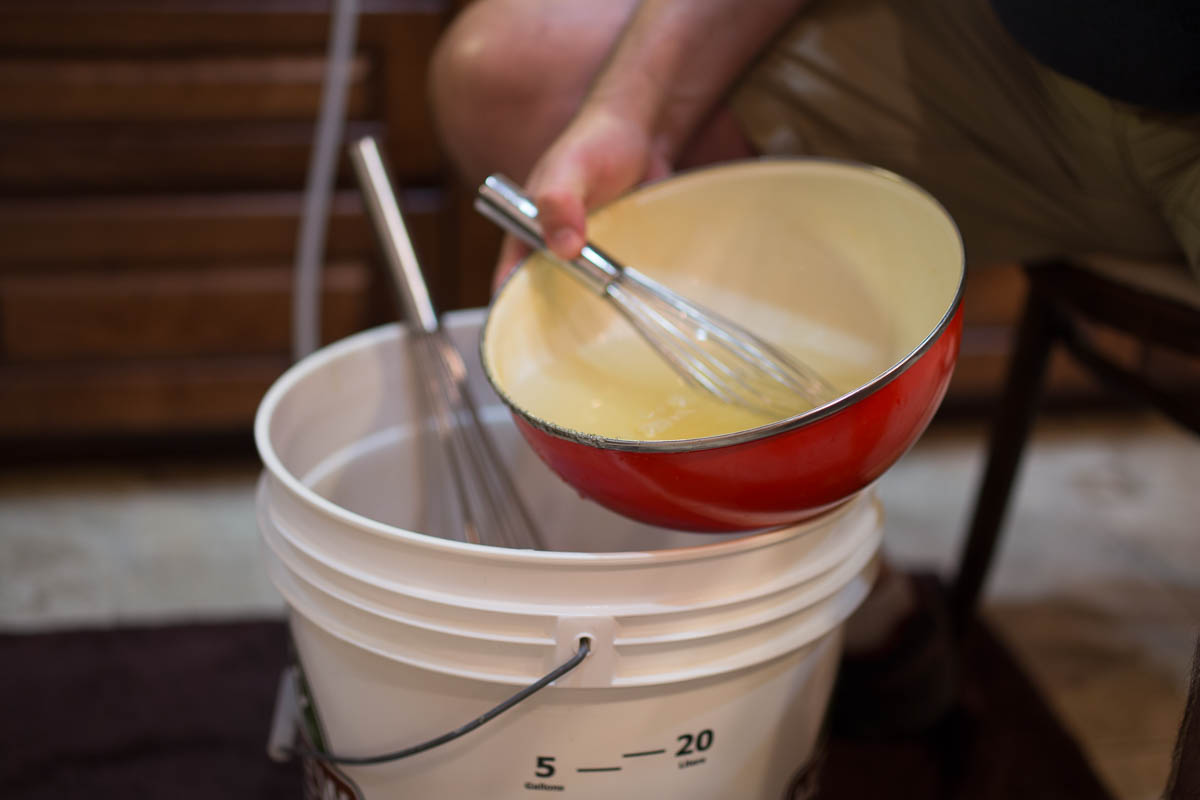
Blend again until a light foam forms. I prefer to fully incorporate the honey so that I get a fairly accurate gravity reading. Make sure you have cleaned out all of the sugar sources with warm water, then top up to your desired volume.
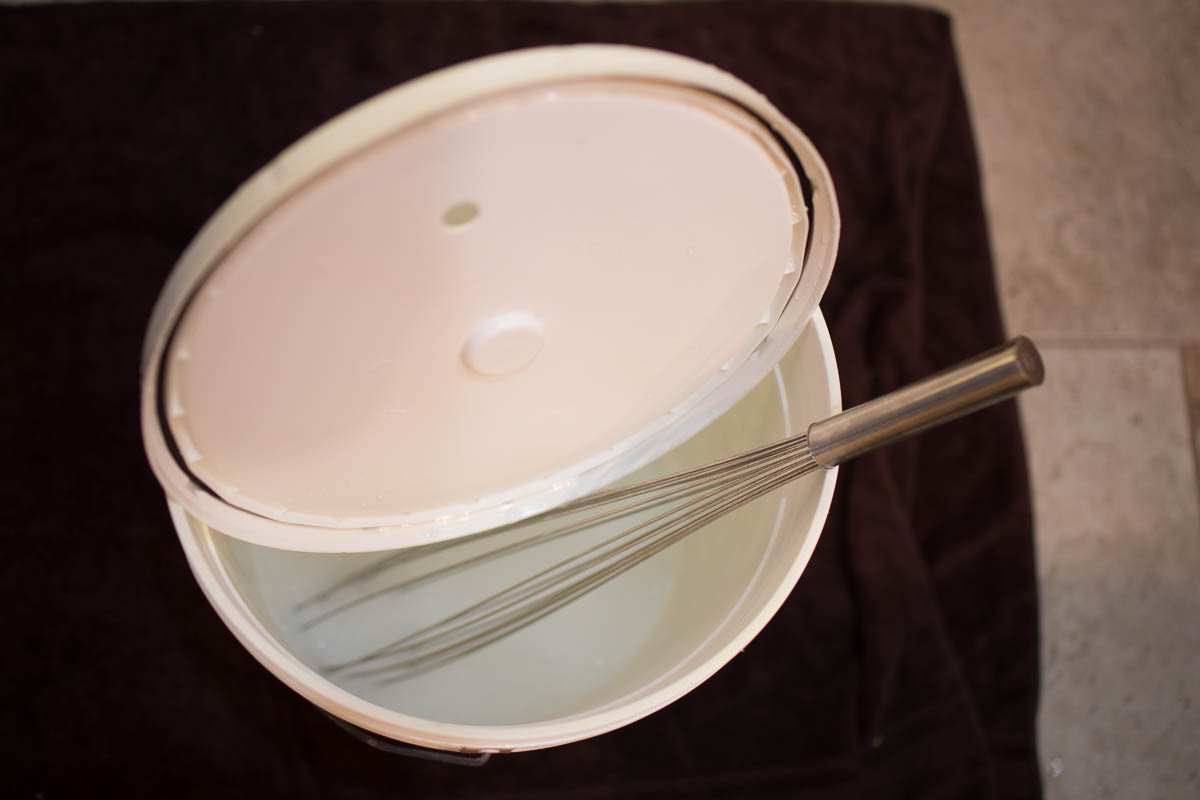
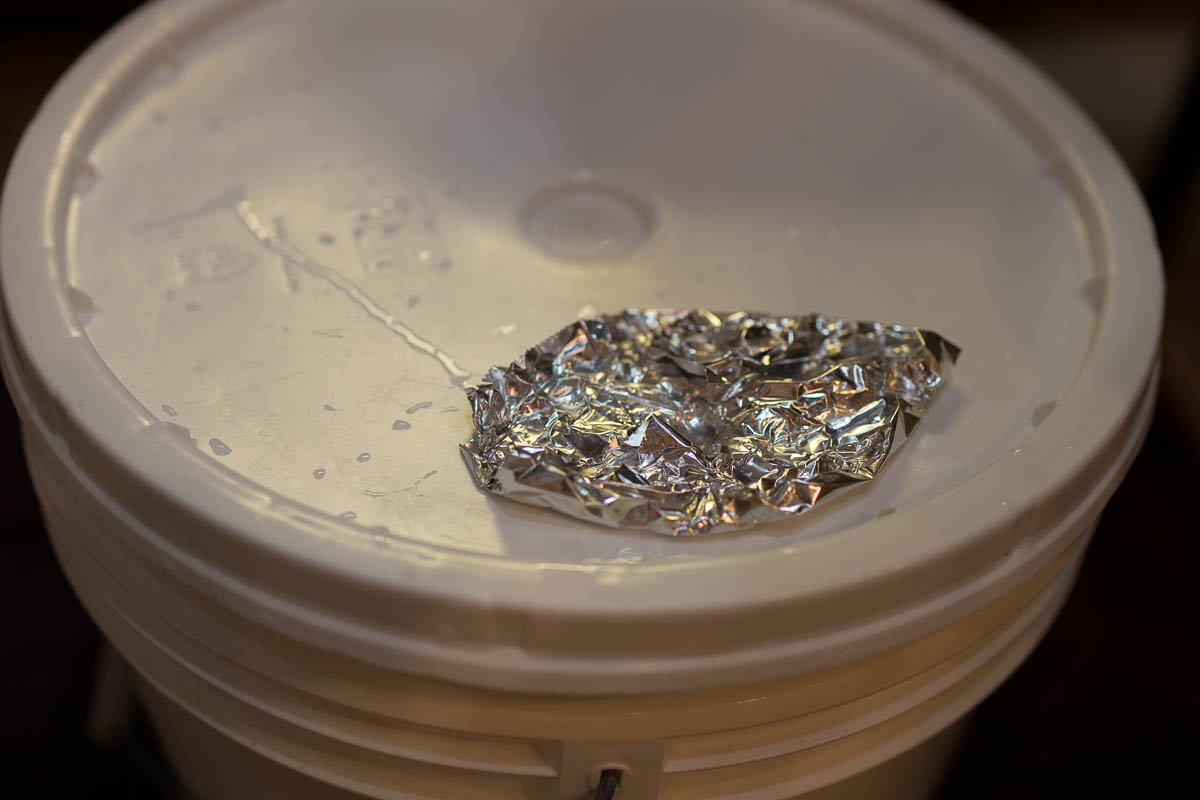
Place the fermenter cover loosely (add the airlock, or some foil) and set this where you plan to ferment (cool and dark, or in a temperature controlled chamber).
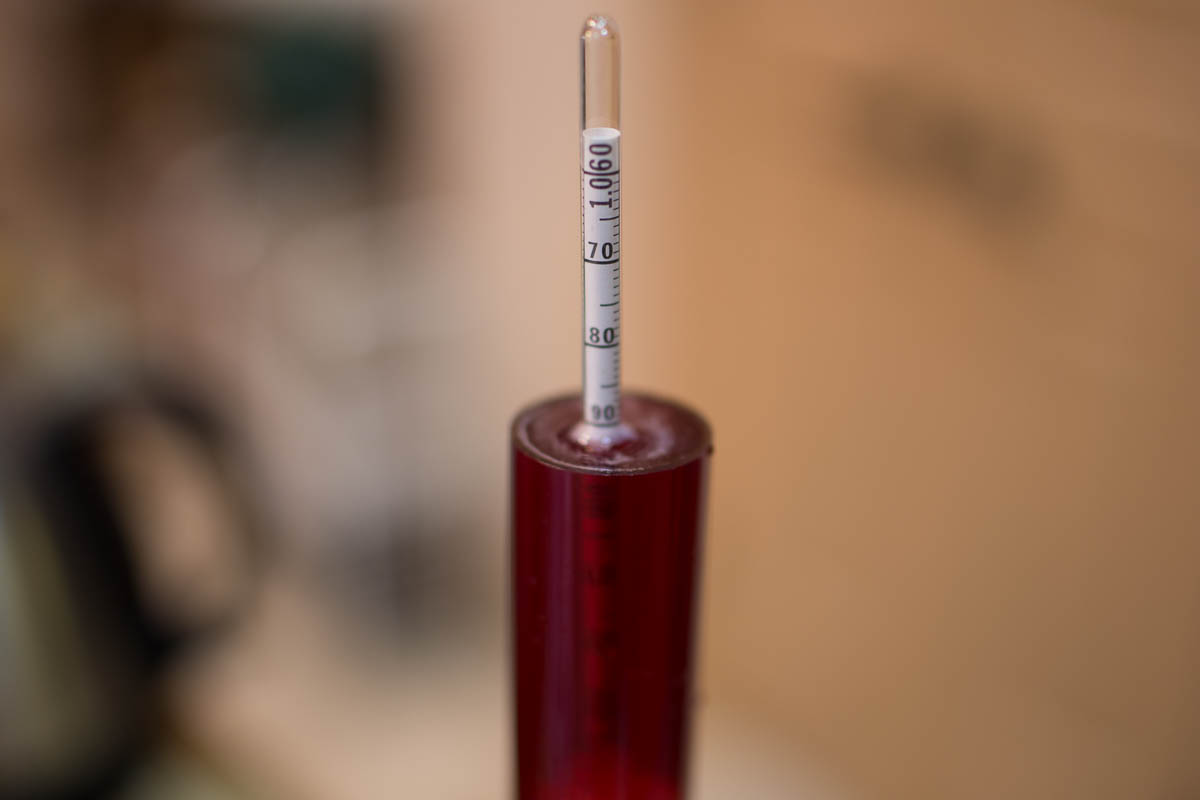
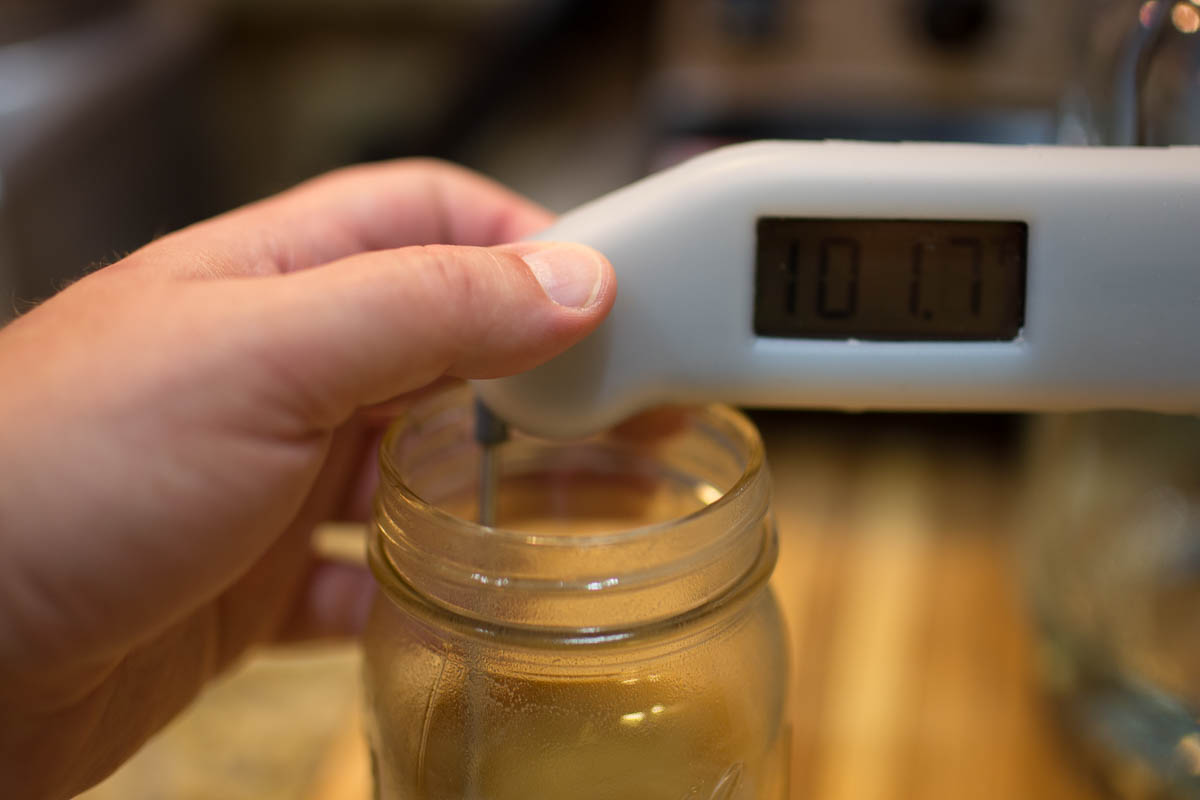
Allow the must to come to your primary fermentation temperature. We are looking for a temperature between 62F/16.7C and 66F/18.9C, but Narbonne is forgiving up to about 70F/21C ambient. The warmer fermentation will throw some mild fusels that will take longer to age out and a stronger fruity ester expression. A lower fermentation temperature will ferment cleanly, but take longer to complete. I prefer to avoid fusels and off flavors than hoping they might mellow out. Take a gravity reading and write it down. It should be near 1.085.
If you are doing a 1 gallon batch, mix everything in the demijohn or jug, then pull off about a quart of must and store in a sterile mason jar, in the refrigerator. This will let you primary ferment with some headspace, and then add the remaining must when fermentation slows, at about day 7.
Rehydrating the Yeast
Take 100 mg of water and heat it up in a sterile mason jar to about 110F/43C (hotter is ok) and dissolve in 6.25 grams of Go-Ferm Protect.
Allow this to cool covered to 104F/40C and then add the entire yeast package. Allow the yeast to hydrate and bloom for 15-20 minutes, then gently stir to fully incorporate.
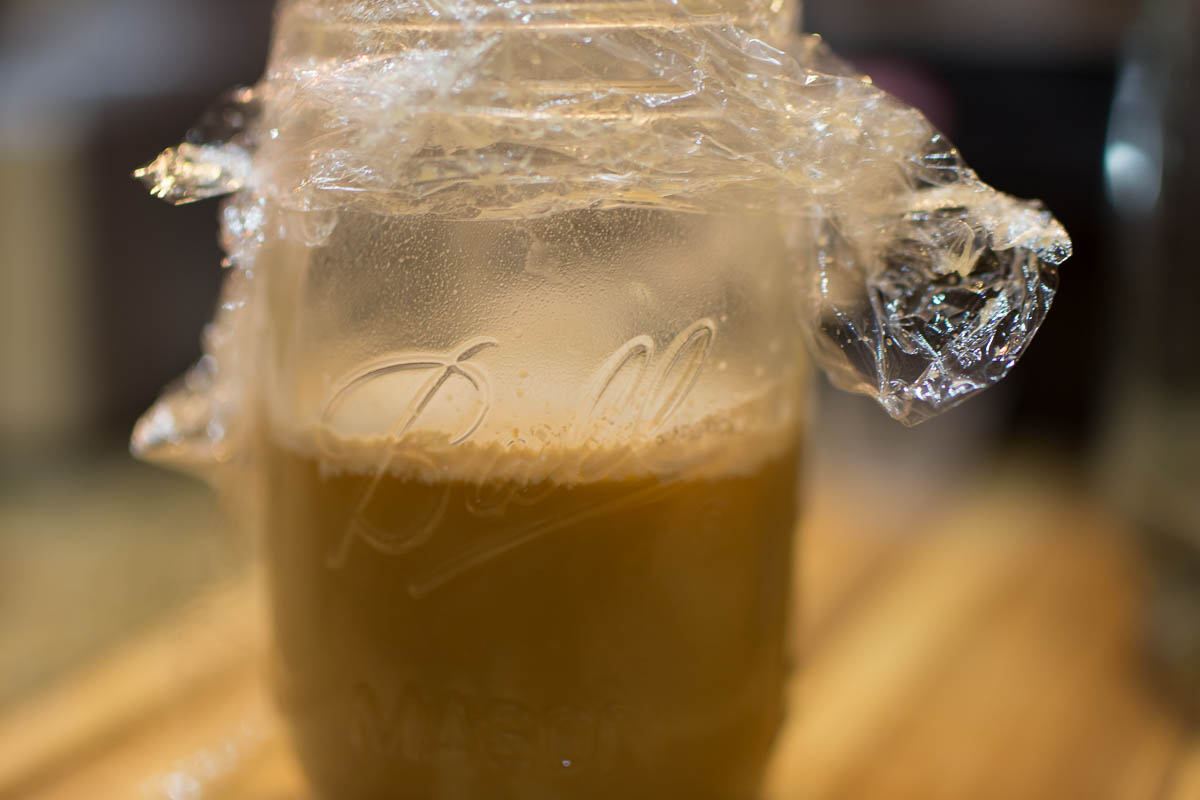
Grab a clean spoon, and open the fermenter. Temper the yeast to the fermentation temperature by slowly spooning cooled must into the yeast and stirring, repeating till the yeast is at the pitch temperature. This prevents yeast shock when adding to the cool must. Then pitch. Loosely refit the fermenter lid. Do NOT seal this up - the first several days of fermentation generate a lot of CO2. The loose lid will allow more of the CO2 to off gas, and the reduced pressure may reduce ester production. It is also convenient as you will need to open the fermenter to degas and add nutrients. Use foil or plastic wrap if there are large gaps.
Do not add any nutrients until we see active fermentation (CO2 production), usually 24 hours after pitching. It will look like a cloudy fizzy soda, and the aroma should be sweet and honey-like. I find it useful to pitch at a convenient time of the day that is available for the next 7 days. This makes the timing of my degassing and nutrient additions convenient and easy to remember. Still - I setup timers to remind me on my smartphone.
Handling Primary Fermentation
Degassing
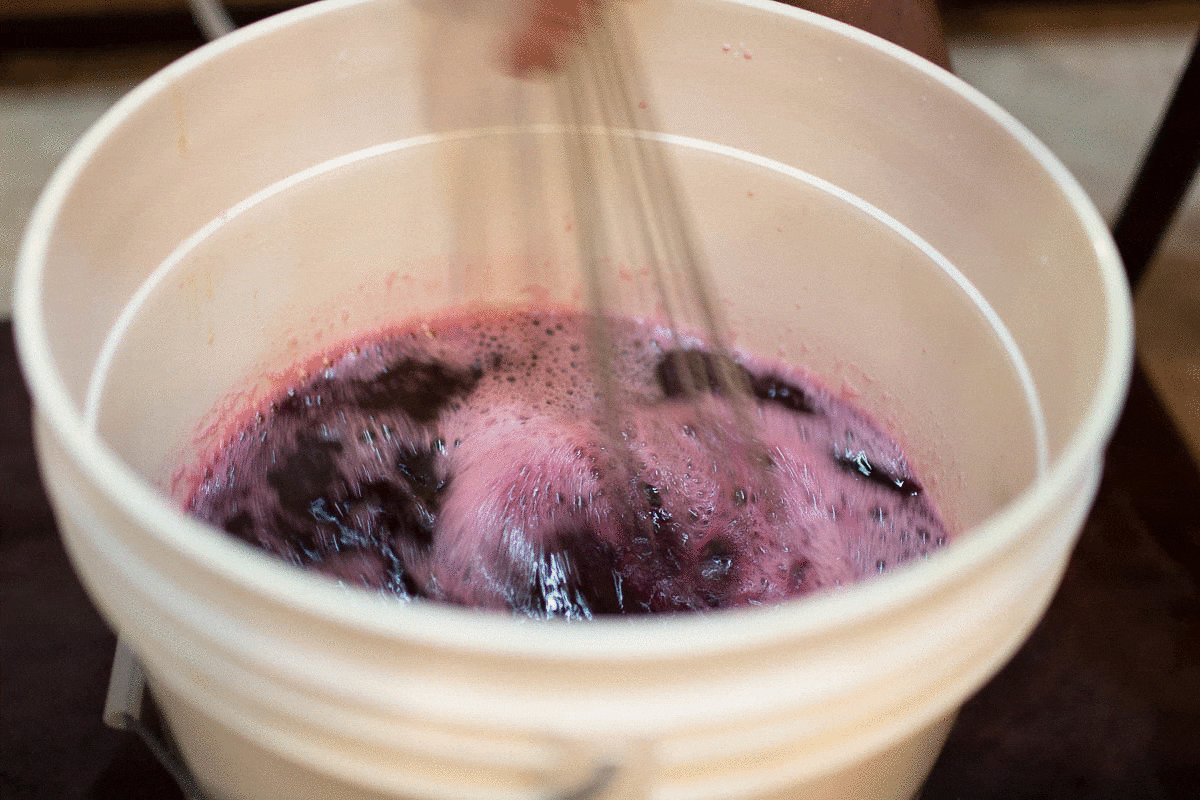
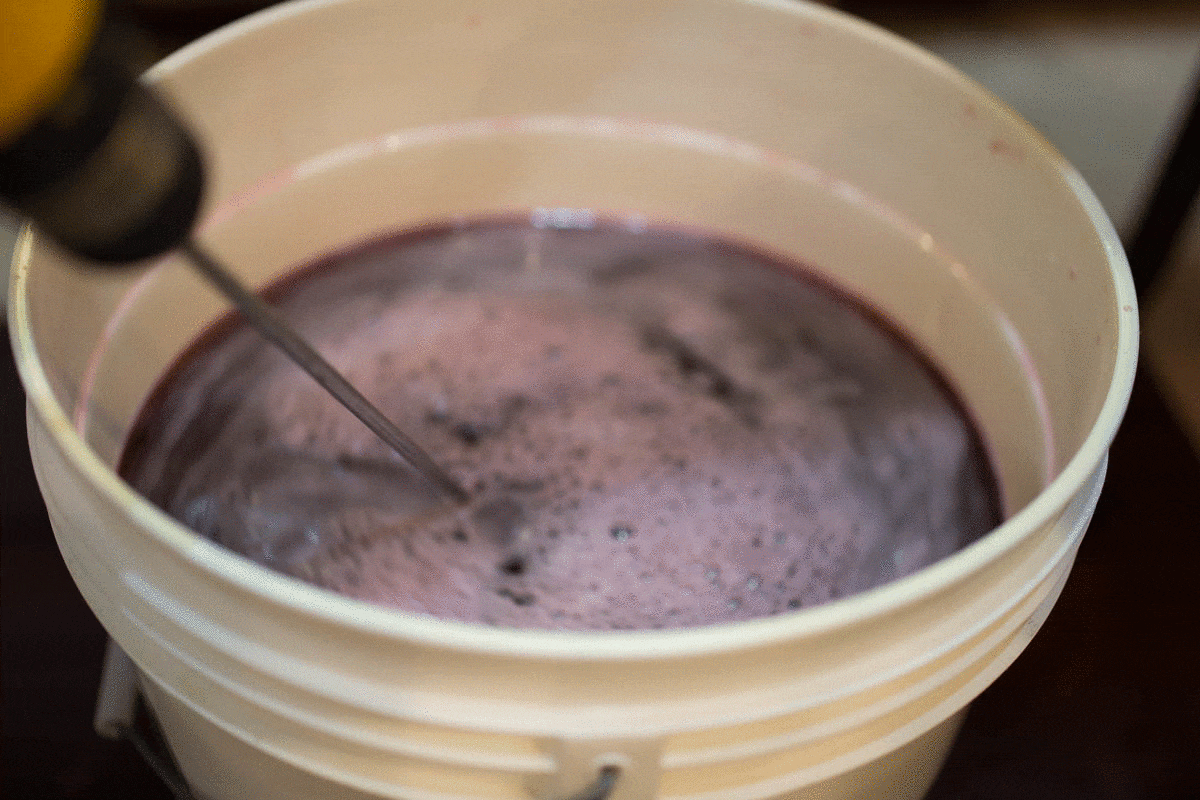
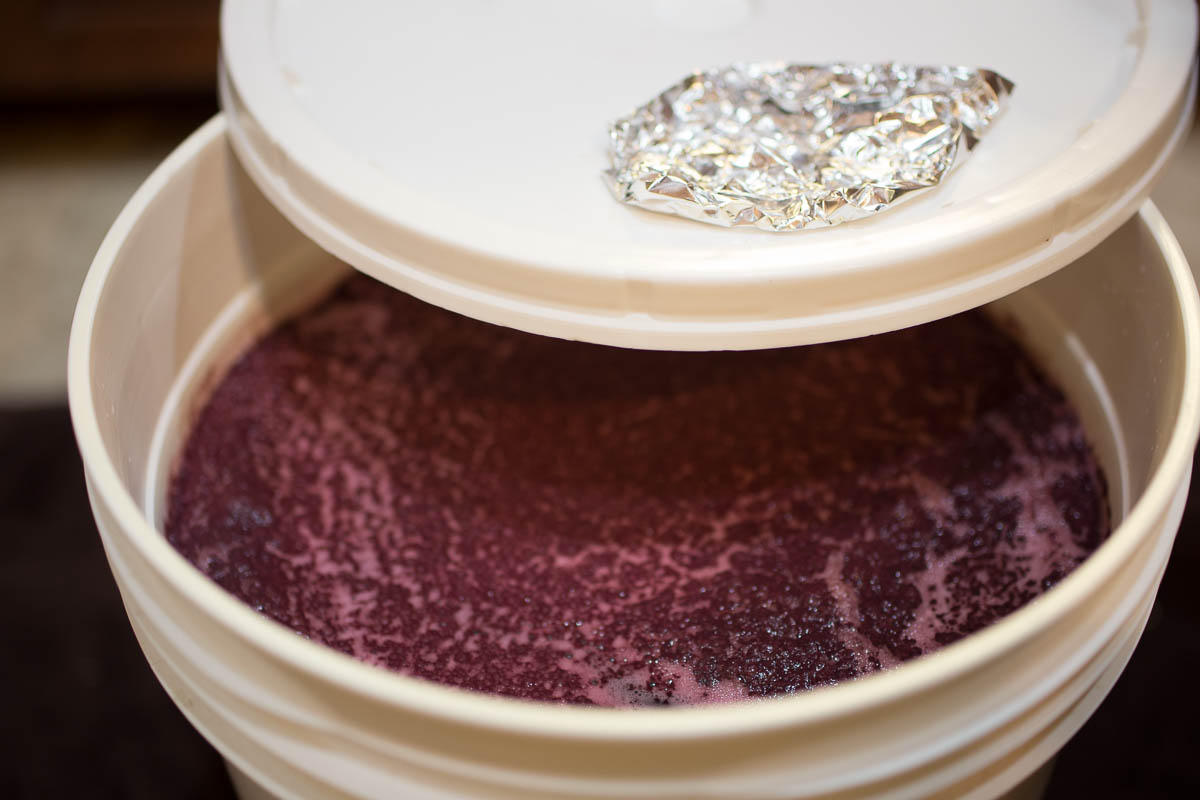
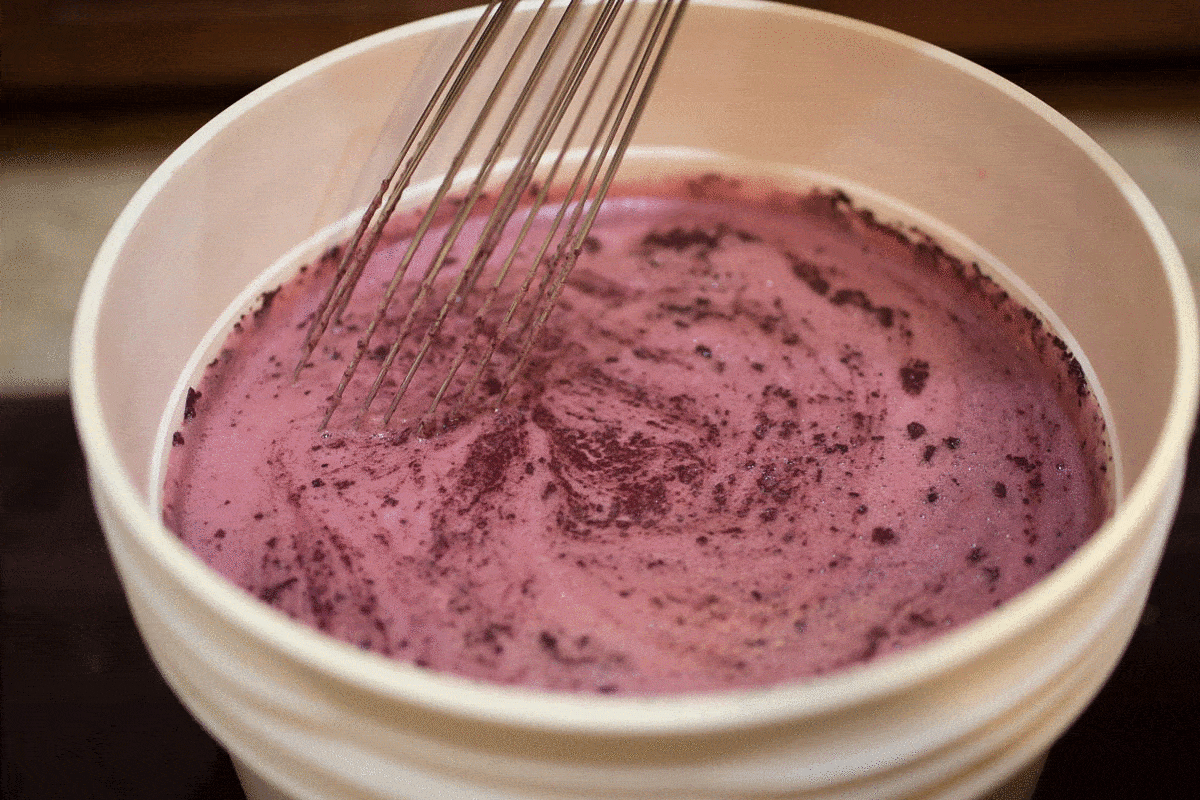
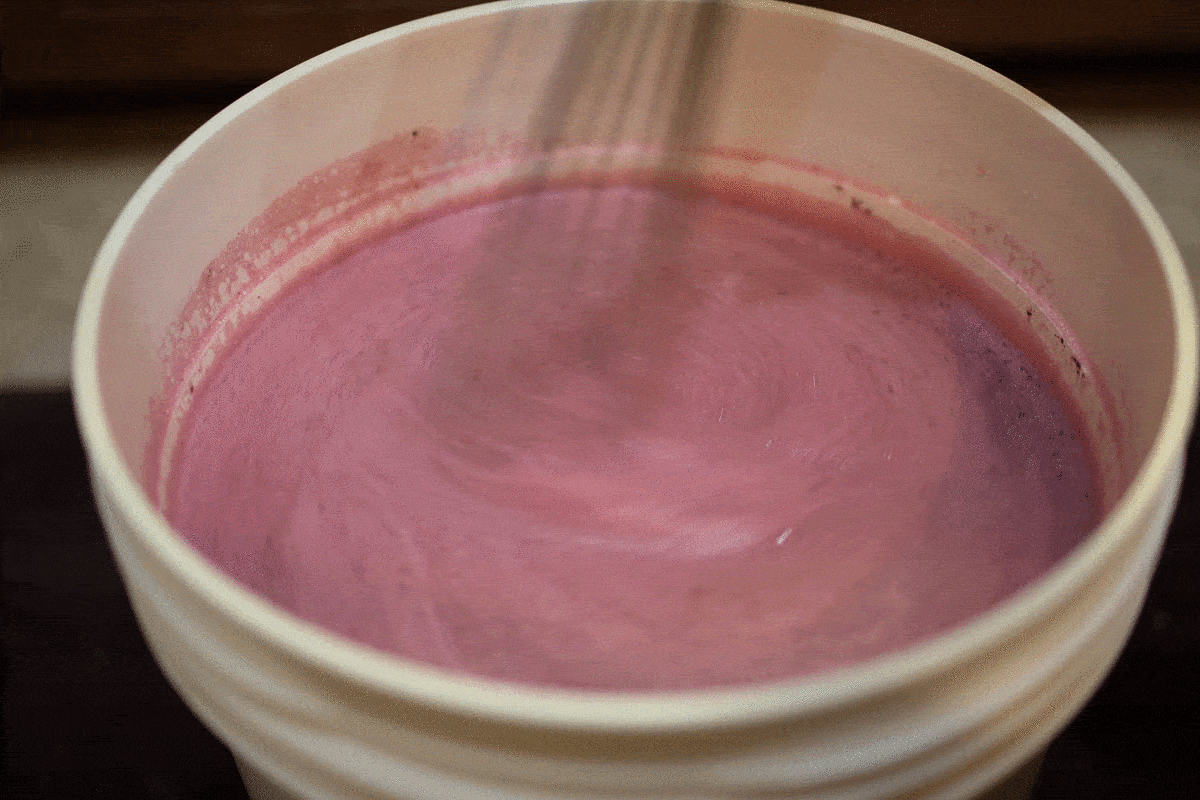
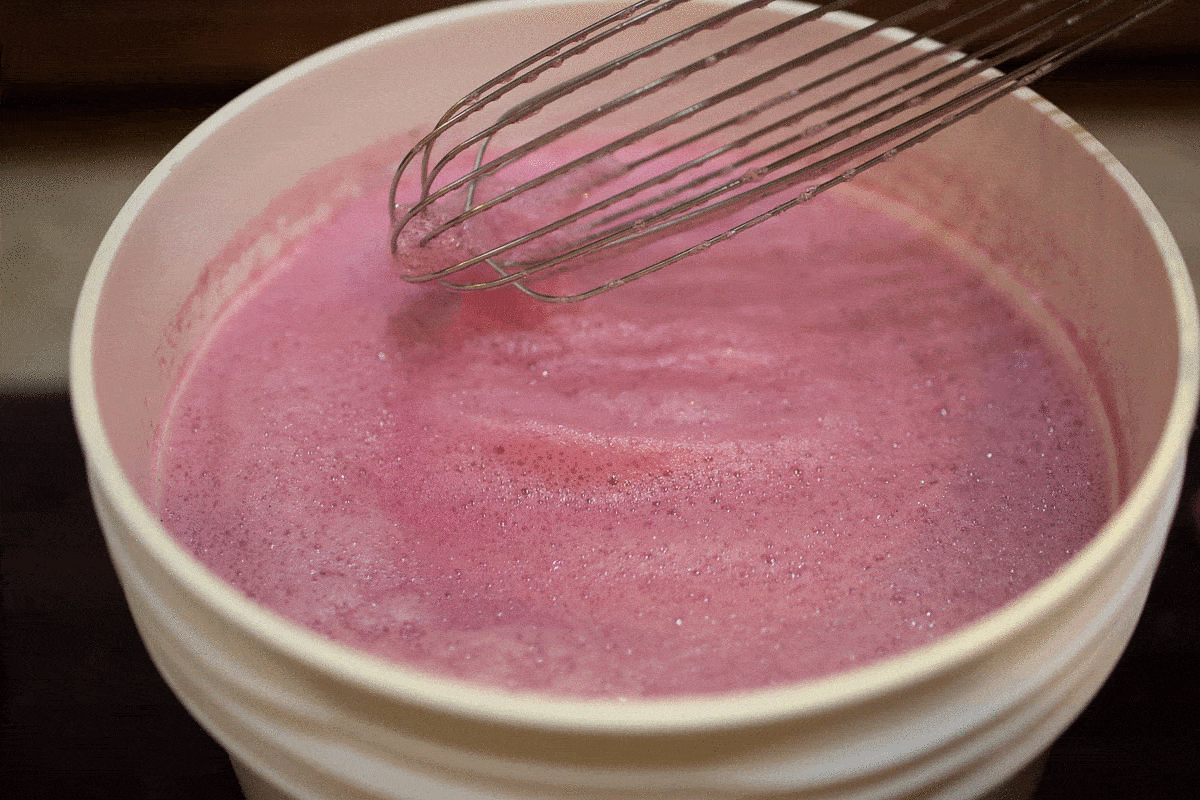
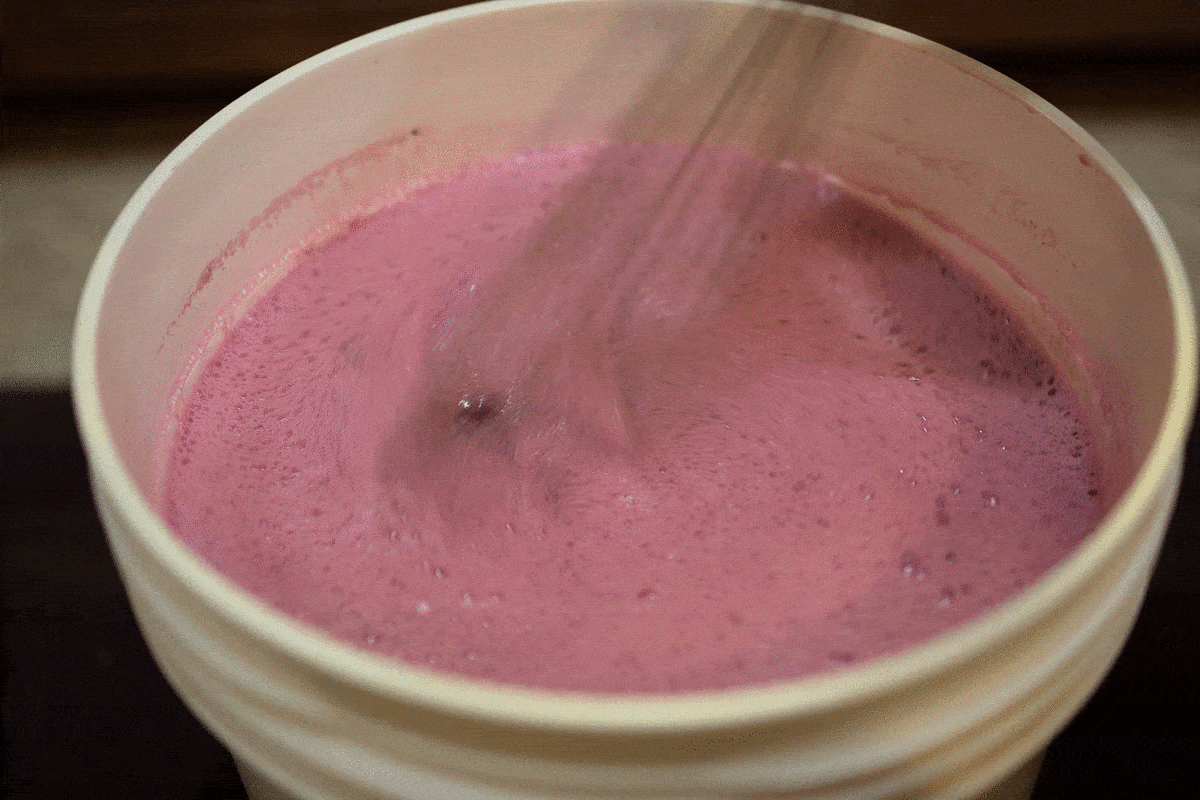
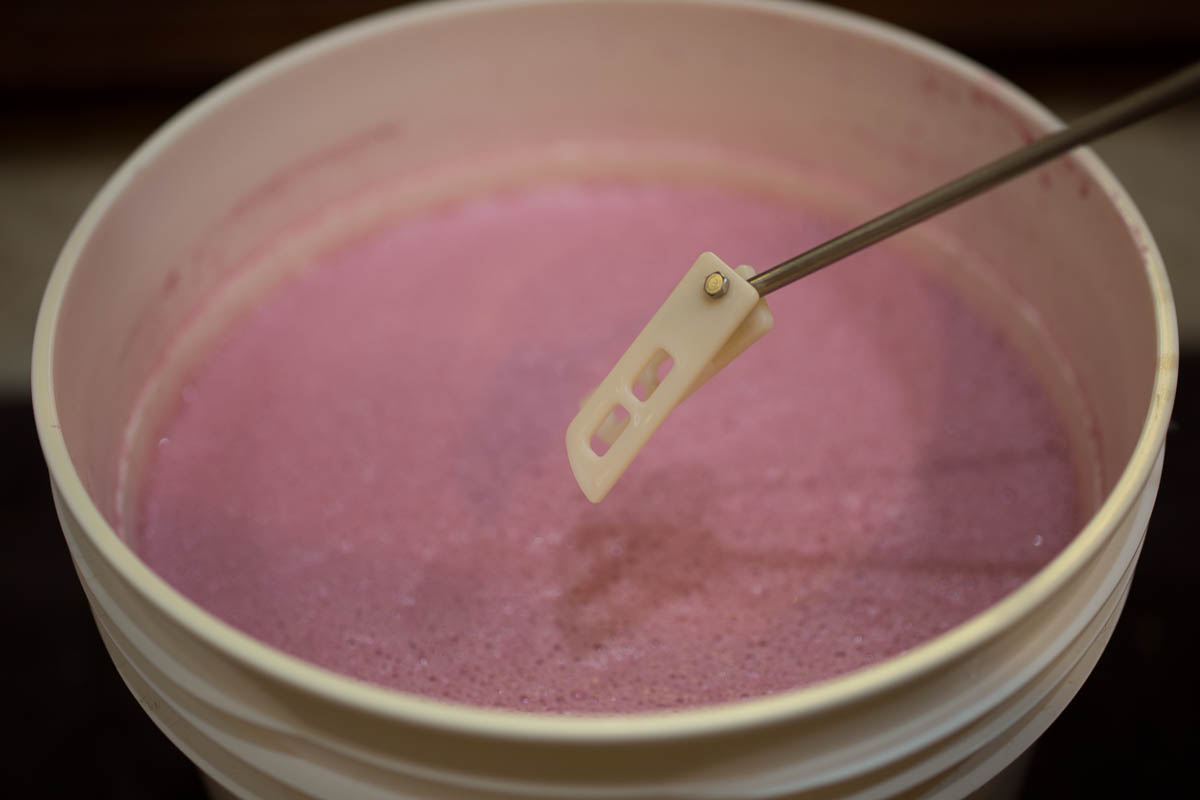
At least twice a day for the first 7 days of primary fermentation, you should degas the must. Mead fermentation with wine yeast produce copious CO2 with a little foamy krausen. THIS is why I prefer to ferment in a bucket (or Speidel) and not a carboy. Use a sanitary whip or whisk and very gently (at first) stir the must. Watch for the foam to rise and let it settle. Keep doing this until the foam no longer rises. Do not worry about aerating the must - the yeast are active and a little O2 is helpful. CO2 which can be toxic to yeast, also converts to carbonic acid, which lowers the pH of the must. If the pH falls too far, the yeast begin to struggle. Do not worry about stirring up the gross lees (the equivalent of break and trub in fermenting beer).
After degassing is the least messy time for adding nutrient additions. Adding nutrients(even hydrated) to gassy must can cause a big volcanic foam up. Stir extremely slow if you are fermenting in a carboy. Degassing releases a tremendous amount of CO2 quickly, building up pressure. The shape of a carboy is very much like the nozzle of a rocket. Speaking from experience, you will find yourself standing in a syrupy honey fountain and a sticky ceiling if you are not incredibly careful. Buckets allow the procedure to be much less treacherous.
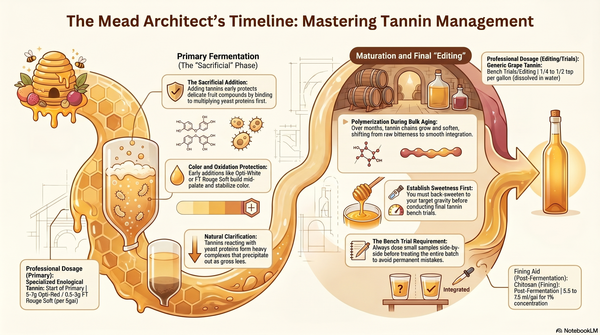
Must pH Management
This section is optional. If you are comfortable using a pH meter and have a good sense of water chemistry, you might enjoy it. I admit this is my OCD side coming out. pH is really more of a diagnostic tool than following hard and fast rules. So if you prefer to not worry about it - you can just watch your fermentation. If the fermentation stalls because of low pH in the first week or two, then a teaspoon of chalk or potassium bicarbonate, stirred in gently with the gross lees, may restart fermentation.
Honey is acidic, and the acidity is quite dependent on the honey varietal, and your measurements will vary from mine. This contributes honey's well known antiseptic property (as well as being hydroscopic). When added to water with low alkalinity, the must pH can fall very low. Along with the creation of carbonic acid during fermentation, the pH can quickly reach levels that can harm the yeast, resulting in stalled ferments and possible off flavors.
You have several options to manage the honey must acidity, including the use of chalk (calcium carbonate), potassium carbonate or potassium bicarbonate. While carbonate salts are difficult to dissolve, its slow dissolution at lower pH makes it work well in the acidic mead. The challenge is trusting a pH measurement as the buffering reaction is very slow, and easy to overdose. Potassium bicarbonate contains a weaker electrical bond than potassium or calcium carbonate, and will react much more quickly.
I like to try to keep the must pH around 4.0 during primary fermentation - and will test pH at the time of a nutrient addition. If the pH falls below 3.8 in the first week, then I will use a small amount of potassium bicarbonate to raise the pH. Using small amounts through the fermentation means I use the minimal amounts. I make no adjustments to buffer acid after the first week of primary. If you want to get really scientific, here is a paper on managing high acidity in wine.
Your honey must will likely measure around 4.4-4.8 pH after mixing using store bought spring water (30-60 ppm alkalinity as CaCO3 in the spring water). If you build water from RO, then the use of bicarbonate salts should be considered necessary. After you see active fermentation, the must usually settles around 3.8-4.2 pH. Degassing twice a day will help to prevent carbonic acid build up that can drive down the pH. Potassium bicarbonate, at a rate of 1.5 g per gallon, 7.5 grams total for a 5 gallon batch, will buffer approximately 1 pH unit in honey must. I divide this by the amount of buffering I want. So to move from 3.8 to 4.0, I would estimate a 1.5 gram addition, hydrated in a little bit of the fermenting must before adding. I am not terribly concerned with precision during this process, and simply want to be just above 3.8 for the first week of primary. Closer to 3.0 is a danger zone. I want to keep the yeast happy, actively fermenting in an orderly and predictable manner.
Nutrients
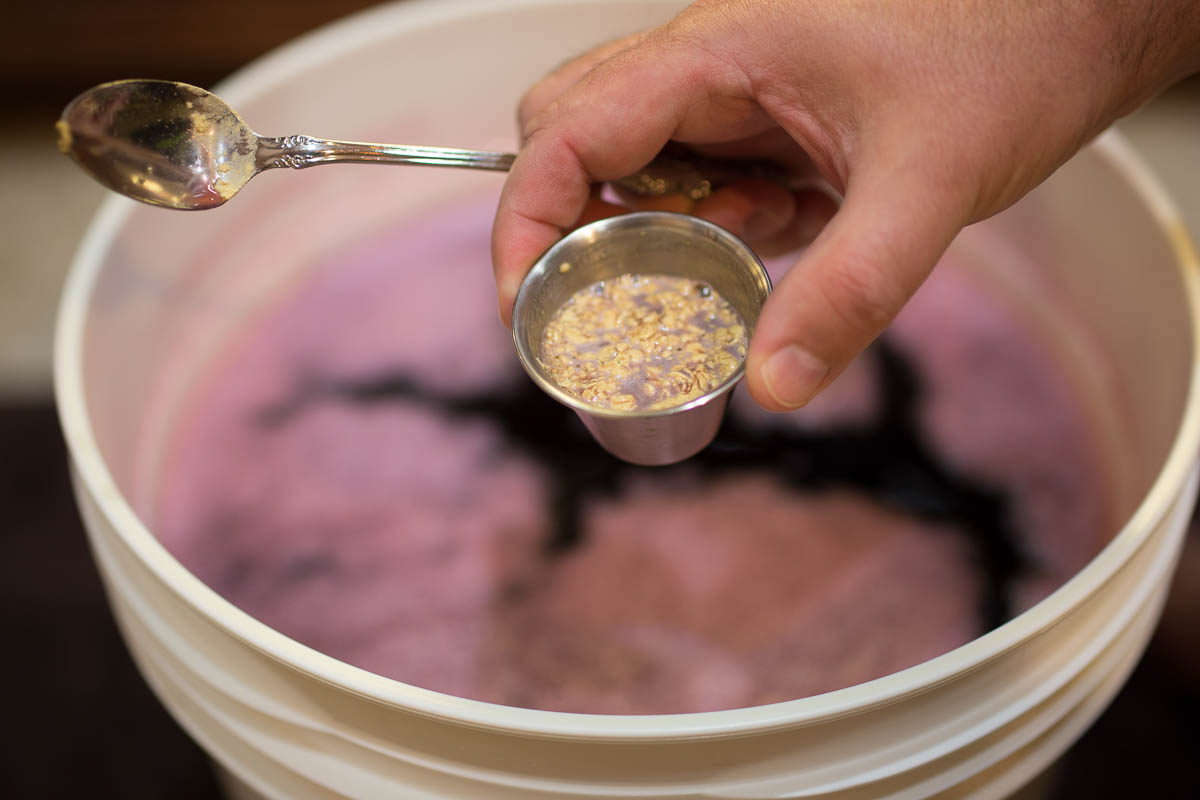
Here are your options for nutrient additions:
- No nutrients. Honey has little in the way of nutrients, so fermentation may be sluggish and stall. This also seems to increase the risk of sulfur production and autolysis flavors as the yeast die off. I know some old school mead makers use a handful of un-sulfited raisons or dried currents, sliced up, that can bring some nutrient and tannin to the table.
- Toss in the nutrients when making the must at the recommended rates on the package. This often supercharges the fermentation and dramatically increases the initial intensity of ferment. Many mead makers believe this can cause fusel alcohol production, increase the off-gassing of aromatics with the high volume of CO2, as well as cause the pH to fall.
- Recommended: Use a Staggered Nutrient Addition strategy, 50:50 blend of DAP and Fermaid K, see below.
- Highly Recommended: Use a Tailored Organic Staggered Nutrient Addition strategy, using Fermaid O, see below.
Staggered Nutrient Additions (SNA)
A quick web search shows that the use of Staggered Nutrient Additions has been discussed at least since 2008 on the internet, but Ken Schramm is probably the best known early advocate of adding nutrients throughout fermentation, rather than all up front. This helps to control the fermentation process and intensity, and provides the yeast appropriate nutrients levels through primary.
Staggered Nutrient Additions (also known as SNA) utilizes a blend of Fermaid K and diammonium phosphate (DAP) in 3-4 additions after the yeast pitch lag phase. There are many differing opinions about the ratio of Fermaid K to DAP, but I use 50:50 to keep things simple. This is a fairly simple cookie cutter approach. I am using an ancient spreadsheet for these calculations, but you should be able to find a SNA calculator online easily. These will be divided by sugar breaks, or more specifically, added when the must reaches specific gravity targets, roughly the difference between OG and estimated FG, divided by 3, and subtracted from the OG. While I no longer use the standard SNA model, it works well and increases the chance of a successful mead.
- Stage 1 @ Active Fermentation: 4.5g Fermaid K and 4.5g DAP
- Stage 2 @ 1.076 SG / 18.3 brix: 2.8g Fermaid K and 2.8g DAP
- Stage 3 @ 1.045 SG / 11.1 brix: 1.8g Fermaid K and 1.8g DAP
We are providing Yeast Assimilable Nitrogen (also called YAN) in an appropriate concentration. Not all nitrogen sources are equal, and organic sources tend to be more easily metabolized by yeast. DAP is inorganic nitrogen, but easy to get to specific concentrations. Fermaid K is a blend of DAP (inorganic) and autolyzed yeast (organic). By blending nutrients, we can achieve the needed yeast required YAN levels, while minimizing flavor impacts. Fermaid O is a source made entirely from autolyzed yeast, but a relatively newer product that is gaining favor (see TOSNA below). A good list of nutrients and their YAN concentrations can be found here. YAN requirements for classic SNA are fairly generic, and tend to account only for initial must gravity.
Tailored Organic Staggered Nutrient Additions (TOSNA)
Sergio Motuelo of Melovino Meadery has championed a more structured and scientific approach to provide appropriate YAN levels utilizing only organic sources of nitrogen. There are a number of reported benefits, including better pH management, less off flavor potential (from nutrient salts and yeast autolysis), more predictable and ordered yeast behavior. TOSNA accounts for must gravity, as well as yeast nutrient requirements and for YAN contribution from added fruit or juices. This (Tailored) approach requires a little extra math, but the results are incredibly predictable. If using fruit in the recipe, our YAN estimates can be cut in half. A simple and direct overview can be found at meadmaderight.com, used to calculate our additions below.
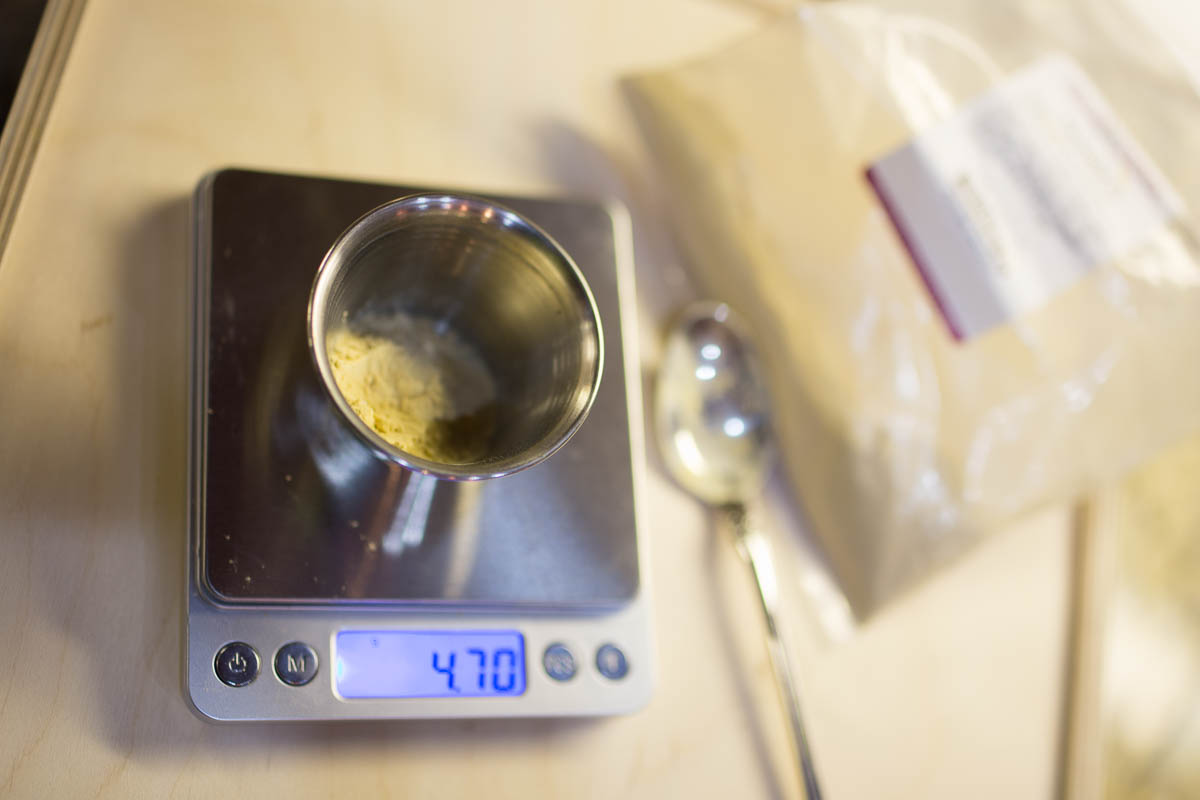
We need a YAN estimate for our OG of 1.085, which is 200 ppm N/L (Nitrogen per Liter). Our yeast choice, Lalvin 71b-1122, requires a lower nitrogen requirement, so we will reduce our YAN estimate by multiplying by 0.75 (or 25% less than a baseline). This gives us a target YAN of 150 ppm N/L for our honey must and yeast choice. Fermaid O provides 50 ppm YAN at a rate of 1g/gal. By taking our target YAN (150) and dividing by 50 (g/gal), we see that we need 3g/gal of Fermaid O. For a total batch size of 5 gallons, we need a TOTAL of 15g. Of course, you will need a gram scale. Our additions will be divided by 4, and added in the following manner:
- Stage 1 @ 24 hours post pitch: 3.75g Fermaid O
- Stage 2 @ 48 hours post pitch: 3.75g Fermaid O
- Stage 3 @ 72 hours post pitch: 3.75g Fermaid O
- Stage 4 @ 1/3 sugar break or day 7 post pitch: 3.75g Fermaid O
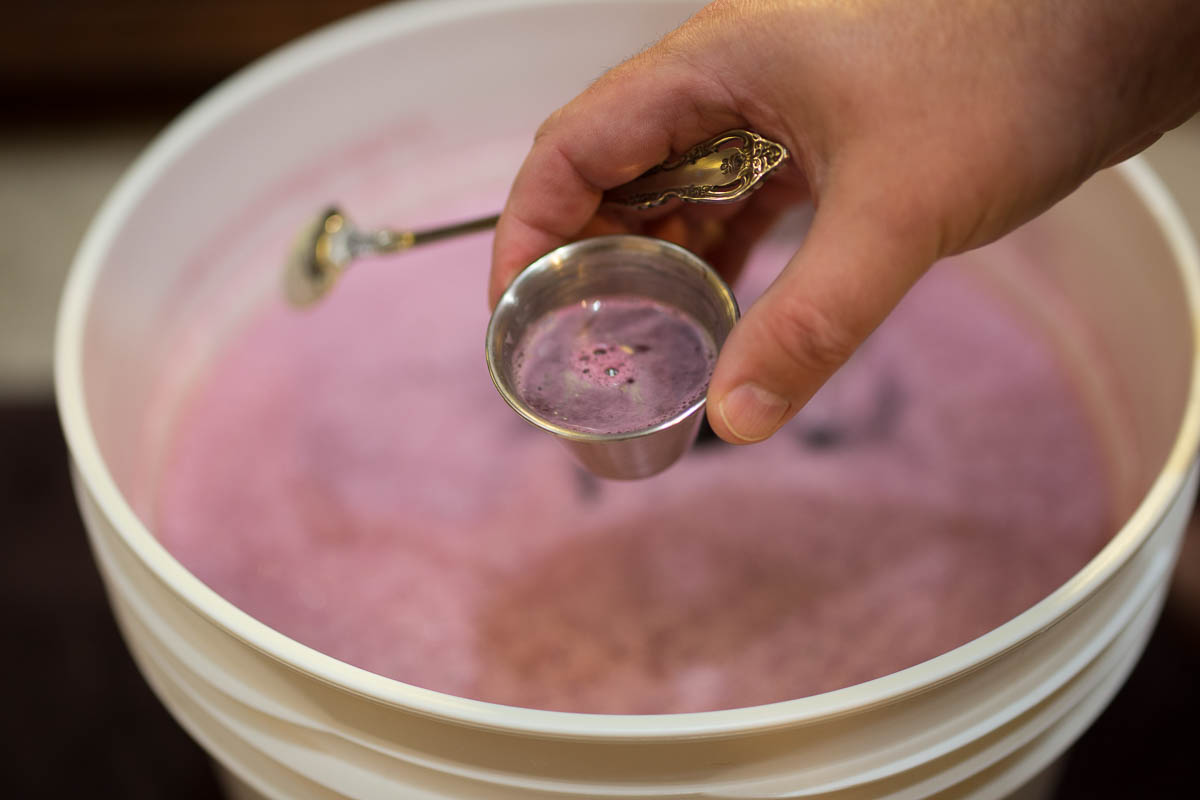
I have seldom seen a dry traditional not hit 1/3 sugar break beyond day 5. As before, ensure you have thoroughly degassed the must and use a little of the must to dissolve the addition before adding it to the fermenter. Make sure to use a sanitized vessel. I like mason jars.
To Recap:
- Mix your honey must, noting your volumes and gravity.
- Use a fermenter that has plenty of headspace. An additional 1-2 gallons headspace for a 5 gallon batch works well. Reduce your batch size to fit your fermentation vessel, or set aside some of the must to add later to ensure headspace during primary.
- Let your must cool to your primary fermentation temperature, but keep the lid loose to allow access during the first week of primary. Then seal it and add an airlock.
- Rehydrate yeast with GoFerm Protect and temper the yeast to your pitching temperature before pitching.
- Wait 24 hours for the yeast to exit the lag phase before adding nutrients.
- Degass the must thoroughly every 12 hours.
- Add your SNA or TOSNA additions, hydrated in a little of the must, at the appropriate times, after degassing.
- OPTIONAL: Measure must pH when taking hydrometer samples. Adjust pH with a buffer if the pH drops too low.
- Take really good notes along the way! Taste the must along the way.
Leave the mead in primary until it nears FG, ~1.005, most likely lower. My TOSNA ferments have gone below the 1.000 mark, and usually complete in 2 weeks. I prefer this method as it means that I have no residual sugar, and I can stabilize and back sweeten to create several meads from one fermentation. Regardless, with Lalvin 71b-1122, we need to worry about autolysis off flavors, which can begin as early as 3 weeks on the gross lees. At our FG point, we need to start racking. The mead will likely be cloudy still, which is beneficial, assuming yeast will uptake any O2. Gently rack out of the fermenter into a clean and sanitized carboy of appropriate size. While we want to minimize headspace, the mead will continue to release CO2. Set this into a cool, dark place (either at your primary temperature or room temp) and allow to settle for at least 2 weeks. You may need to rack 2-3 times, always leaving behind the settled lees.
In the next article, we will explore accelerated finishing and packaging as well as a few options to turn this dry wildflower traditional into a completely different mead.