Mark II Keg and Carboy Washer Review

I hate to clean kegs and carboys. Ok, pretty much cleaning anything really sucks. In fact, like many folk, I saw some interesting keg/carboy washer DIY designs and built my own keg cleaner, hoping for efficient simplicity and sanitary bliss. After sourcing a sump pump from Harbor Freight and a crap ton of CPVC fittings from Home Depot, I proceeded to convert a homer bucket into a keg cleaning stand. It worked, sort of. Soon I was spending more money in 'upgrading' the design to support my RIMS keggles. That pump and bucket was just a lot of trouble, and difficult to setup for just a small cleaning queue. Because it lacked the careful design elements needed to properly push a variety of cleaning and sanitation solutions while balancing a corny key, a carboy or even a sanke keg, it sucked. I could spend more time, money, and energy on it - but lost interest. Actually, I got frustrated that I overbuilt something that just didn't work very well! For all the times I spilled or sprayed SaniClean solution all over the garage, you would think my floors would be much cleaner! So today, I just use the pump to circulate ice water through my Z-Chiller in the hot summer months here in Central Texas.
Note: This is an unsolicited review of the Mark II Keg and Carboy Washer. I felt compelled to post a review after the very excellent service and support from Mark - detailed below.
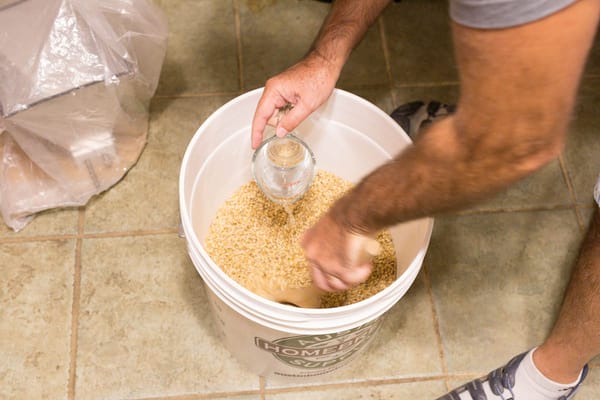
Enter the Mark II Keg and Carboy Washer. I won a gift certificate from Adventures in Homebrewing in a competition and decided that I would spend it on this. I also got the Mark's 22 Ounce Bottle Washing System in the bundle. Dirty corny kegs were stacking up. I opened the box and dove in when it arrived.
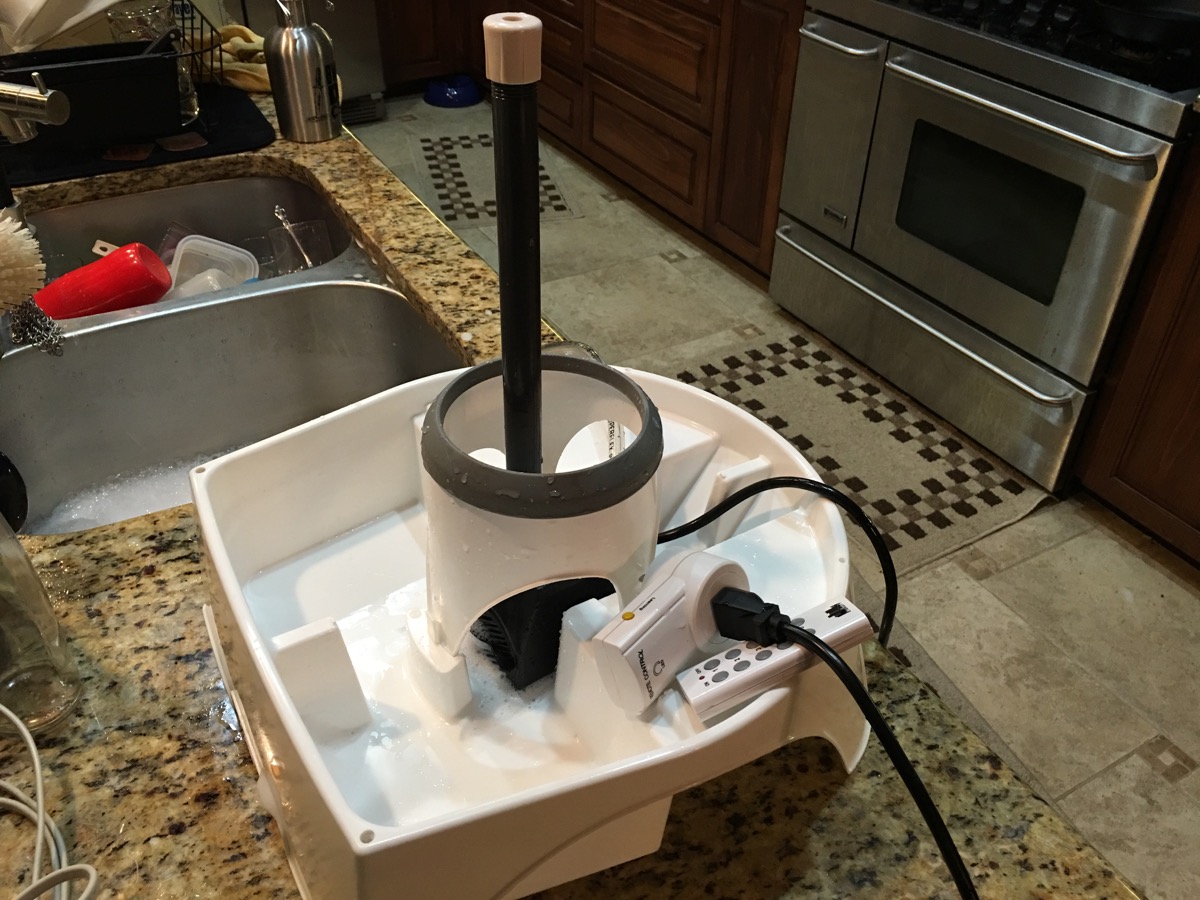
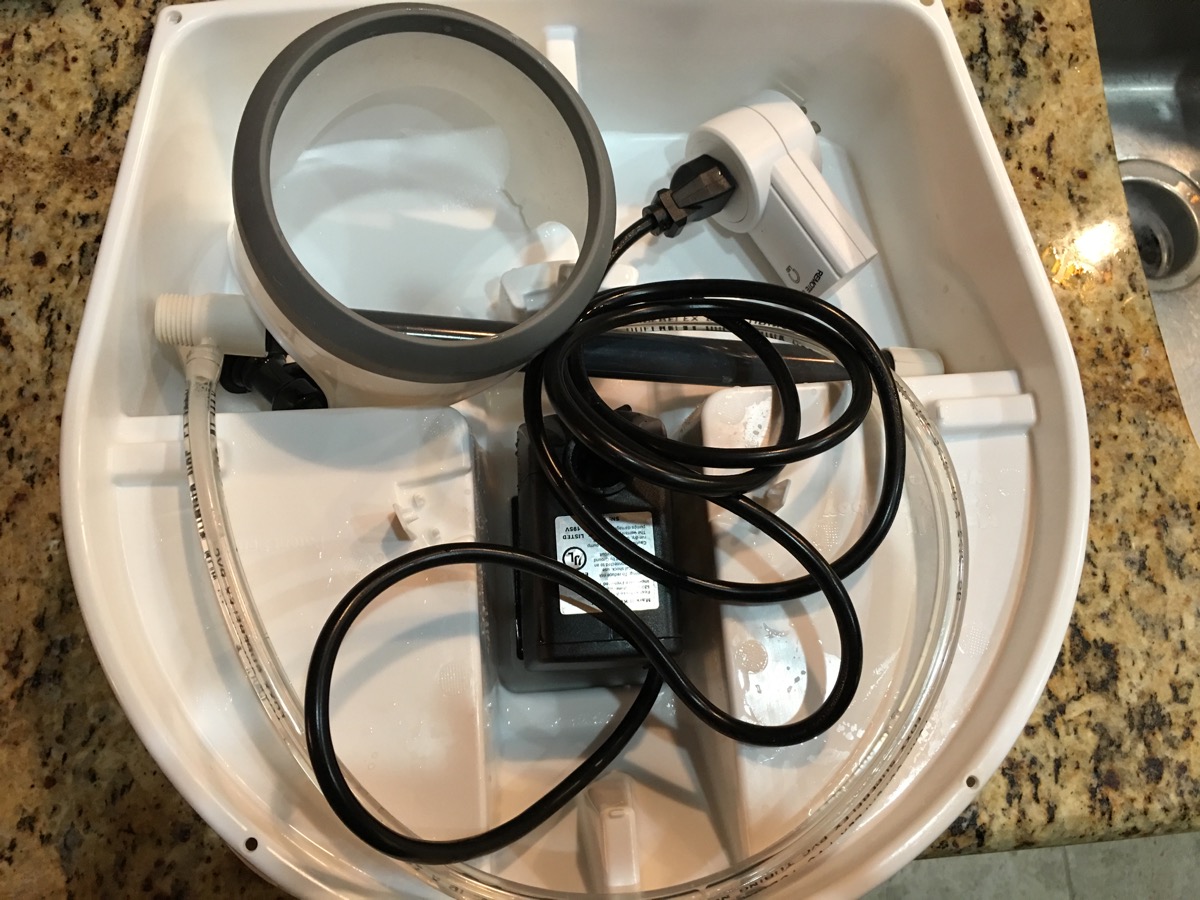
I was surprised to see how simple the system was to assemble. I was immediately concerned that this was made from lightweight and flimsy plastic, but after working with it my concerns quickly disappeared. The plastic has some flexibility to it, to allow manipulation of the clips that hold in the carboy/keg collar, but is very rigid. There were a few fitting options for the pump, but since I was primarily after corny keg cleaning, I opted for the collar with a nipple to add line and a liquid side keg quick disconnect (not provided) as well as the jet tube and cap, drilled to shoot water up. This all went together in minutes, just finger tight. I immediately grabbed some Better Bottle carboys, filled the basin and tested the pump. Good engineering is simple.
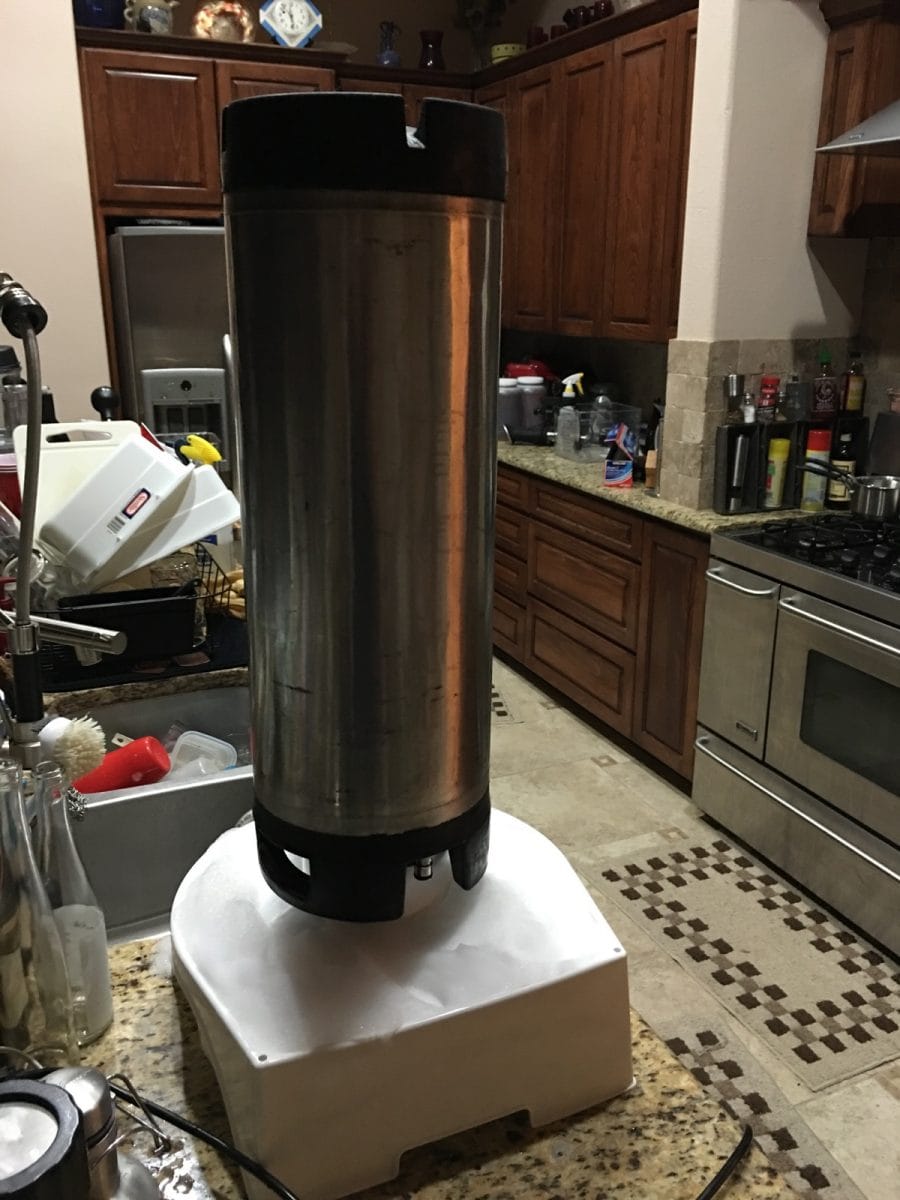
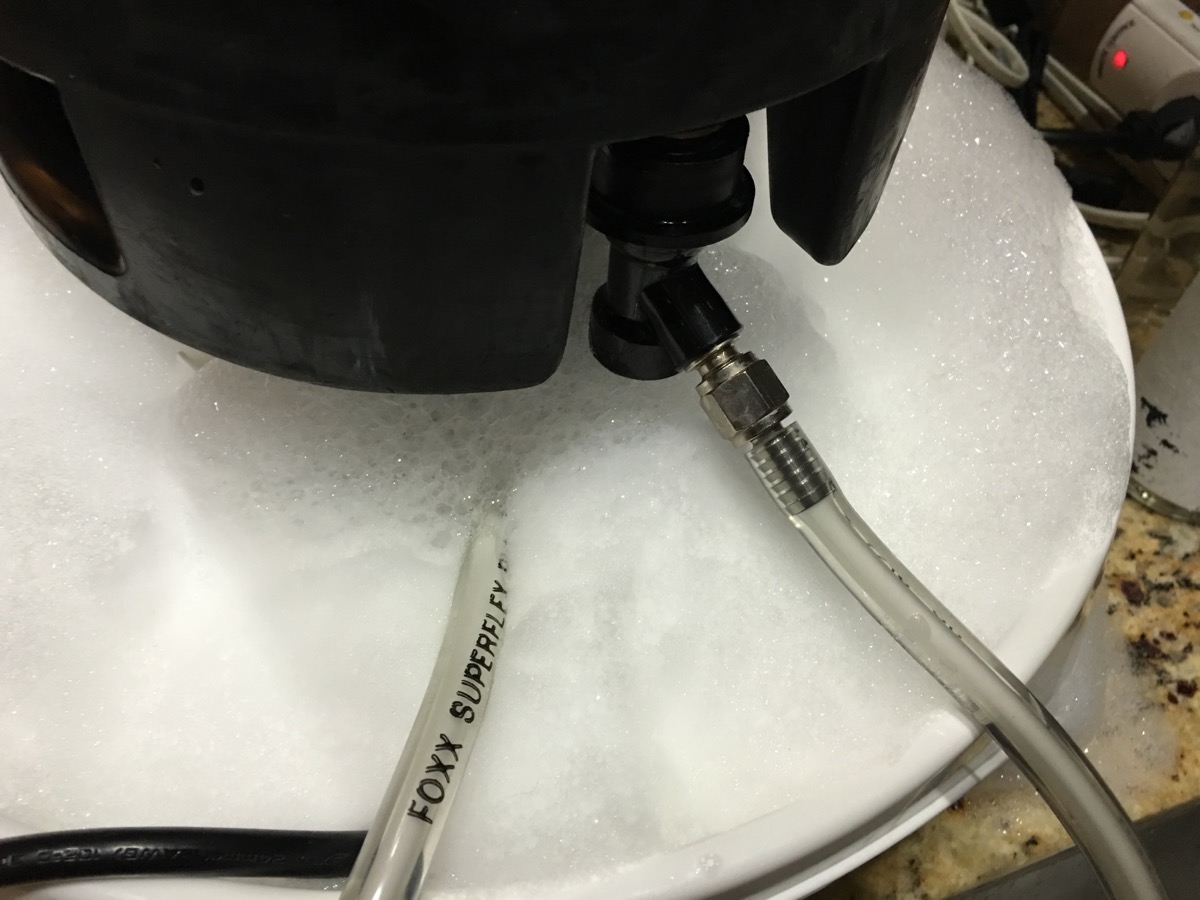
The cleaning jet is surprisingly strong for such a small pump. Adding the QD hose allows me to force cleaning/sanitation solution through the keg's dip tube. At some point, I plan to add a T-fitting to split the QD tail so that I can also run solution through the gas side. The carboy/keg collar is rimmed with a rubber ring that allows both kegs and carboys to sit securely and the base is wide enough that there is plenty of lateral support to prevent tipping. With a clear carboy, you can really see the sheeting action of the jet. Using warm PBW or Oxy solution, cleaning trub is pretty trivial, although it may take an extended circulation to completely remove a dry krausen ring. This should not be an issue as the pump is very quiet, and I can let it run for a hour or more if needed. The base does a great job of catching the run off. Of course, using StarSan will accumulate foam - so use SaniClean as an alternative. Also - as always if using glass carboys, be very careful handling them, especially with their weight and slippery and wet sides. There are plenty of videos online of this working - so I didn't tape any.
My normal carboy/keg routine will include a hot tap-water solution of PBW or Oxi. This runs for between 5-15 minutes, with a short check to see if I need to run a brush to remove stubborn dirt. If I do - then back onto the system for another 5-15 minutes. I dump out the solution after doing 2-3 kegs. Next I do a sanitation run with iodophor solution for at least 10 minutes. If I am doing a lot of kegs and carboys, I will do all of them at this stage, where I will stagger batches on the cleaning side. Finally, I dump out the iodophor and rinse all of the vessels with cold tap water and SaniClean. Once complete, these get covered with plastic wrap to store clean, particularly the posts. The Washer gets a good thorough rinse, disassembled and set to drip dry. It fits together in such a way to make storage simple and convenient. Kegs are disassembled and manually cleaned every 2-3 fills.
I am very happy with the system, and finally broke out the bottle washer add-on after the BrewUnited Challenge competition judging to see how it handled cleaning bottles. Putting this together was finicky and complicated, but once you figure it out and organize the parts, makes sense. This has a manifold with 6 jets organized to align with bottle racks that you just sit down over the jets, that ties into the pump. The racks hold 12 bottles, and you simply rotate the rack to clean the remaining bottles. The racks fit perfectly on the base, and include spring steel connectors for security. I plan to use it to clean new cases of bottles to prepare them for competitions - cleaning, rinsing and covering the bottles with plastic or foil, then a final quick rinse with sanitizer before bottling.
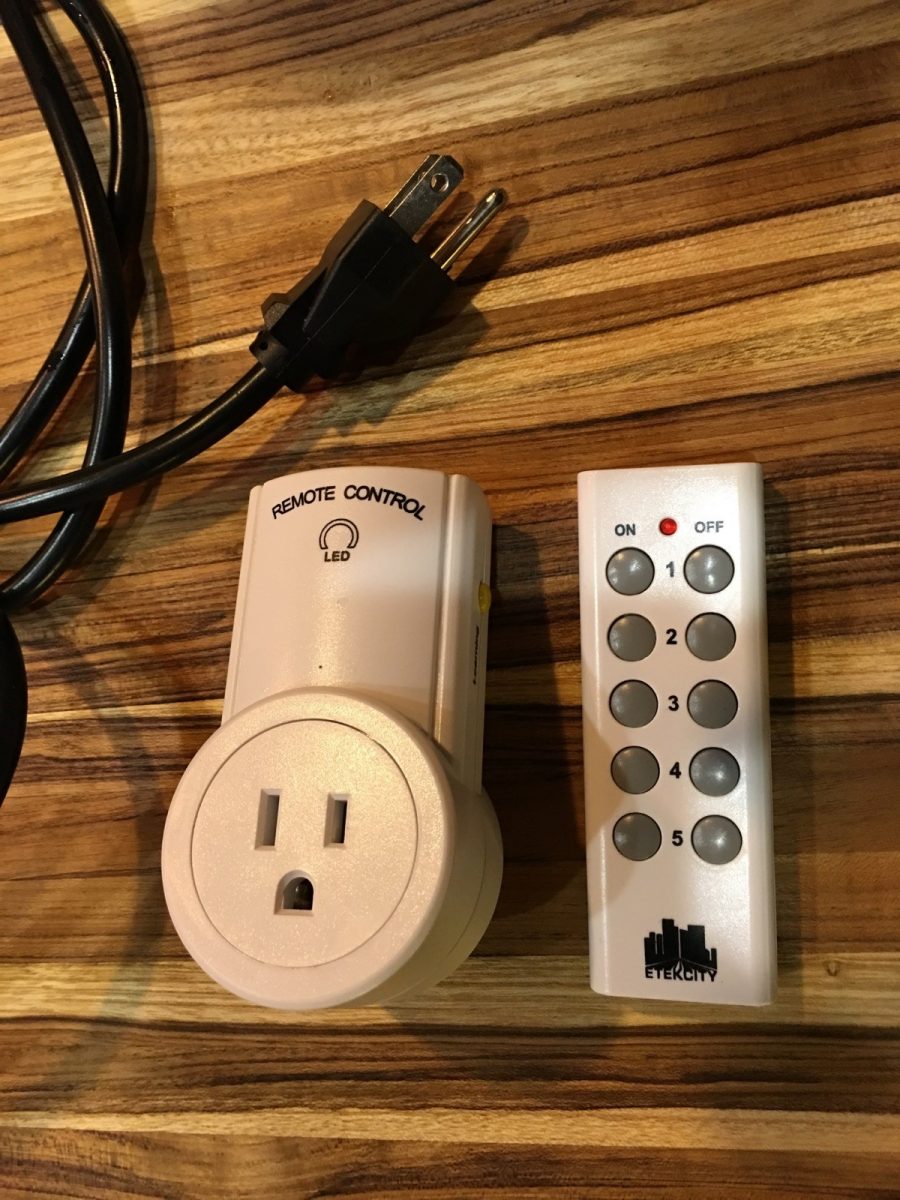
My only real complaint is that there is no switch for the pump. You simply plug-in or un-plug to run it - inconvenient in cramped spaces. I solved this using a radio remote switch, which I already deploy for my brewery pumps in the garage. It makes it so much easier to just tap a button on the remote!
There has been some discussion online about the solutions getting dirty pretty quickly and require changing between vessels. Compared to long full soaks of PBW, with at least 4-5 gallons of solution, this seems more efficient. I can easily mix up my PBW solution, clean the vessels, dump it and mix up some sanitizer, pump. Dump the solution, store the vessels as well as the Mark II Washer and be on my way. Takes less time and less solution, ultimately less water wasted.
Now leap forward 3 months, just a few weeks past my return policy date on the purchase with AIH. I went to clean a couple of kegs and the pump wouldn't work. After some inspection, I noted that the impeller was loose and not spinning with the motor. I contacted AIH and sure enough I was redirected to Kegwasher.com for support. I did some googling on the problem and noticed that Mark is active in online homebrewing communities so I snagged his email address and dropped a note. Within 24 hours, he had diagnosed the problem, confirmed I was warrantied and had shipped me a replacement impeller assembly. It arrived within 3 days. I expected to replace the pump and was willing to purchase a new one, but it turns out the pump is very simple to service. I cannot speak more highly of Mark's support! There was no argument or questions about warranty cards, simply a request to verify the issue and a solution. Great service!
Below, you can see how the pump is assembled and I will cover the replacement of the impeller. This may also be useful after a few particularly dirty cleaning session, although a good stream of water through the shroud should be adequate. PLEASE DO NOT DISASSEMBLE YOUR PUMP unless instructed. It may negate your warranty. In my case, the bladed impeller had broken away from the magnet in the assembly.
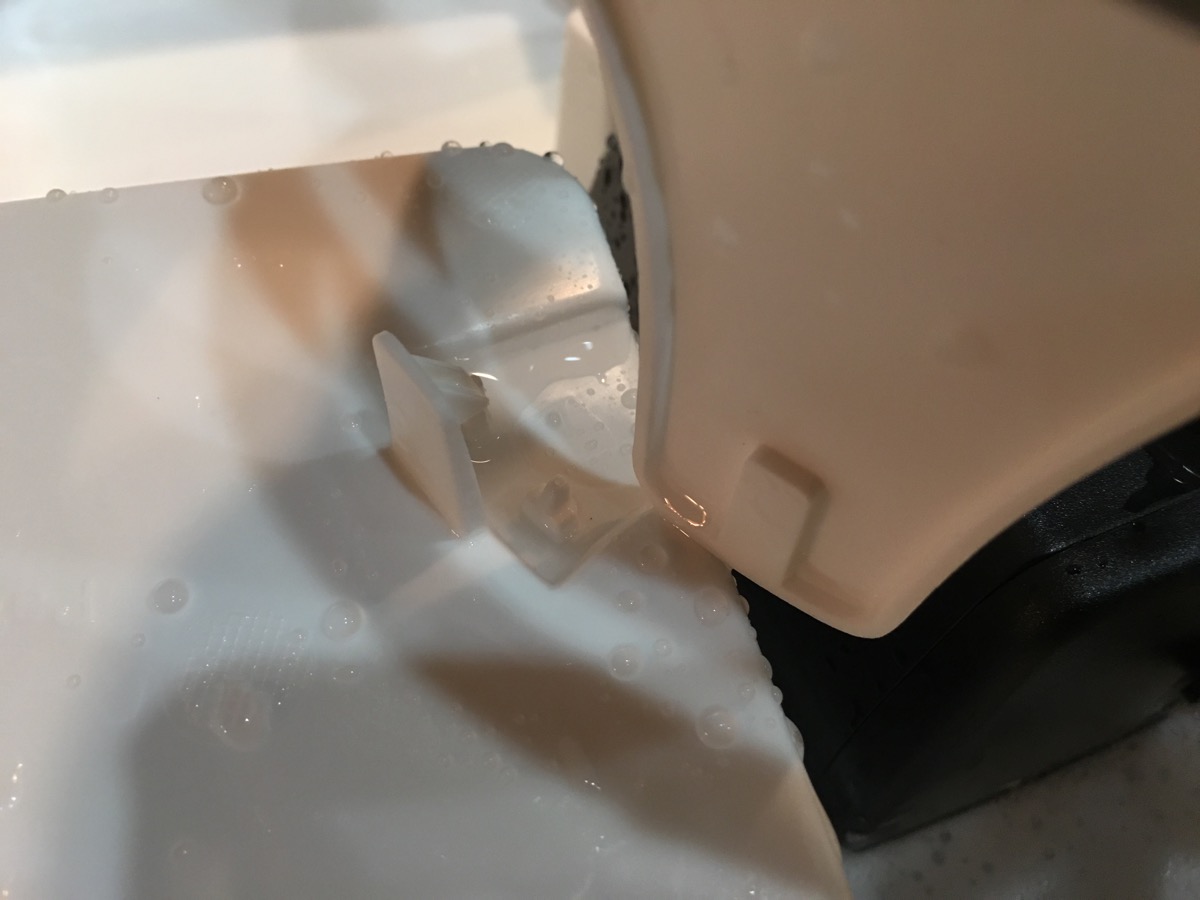
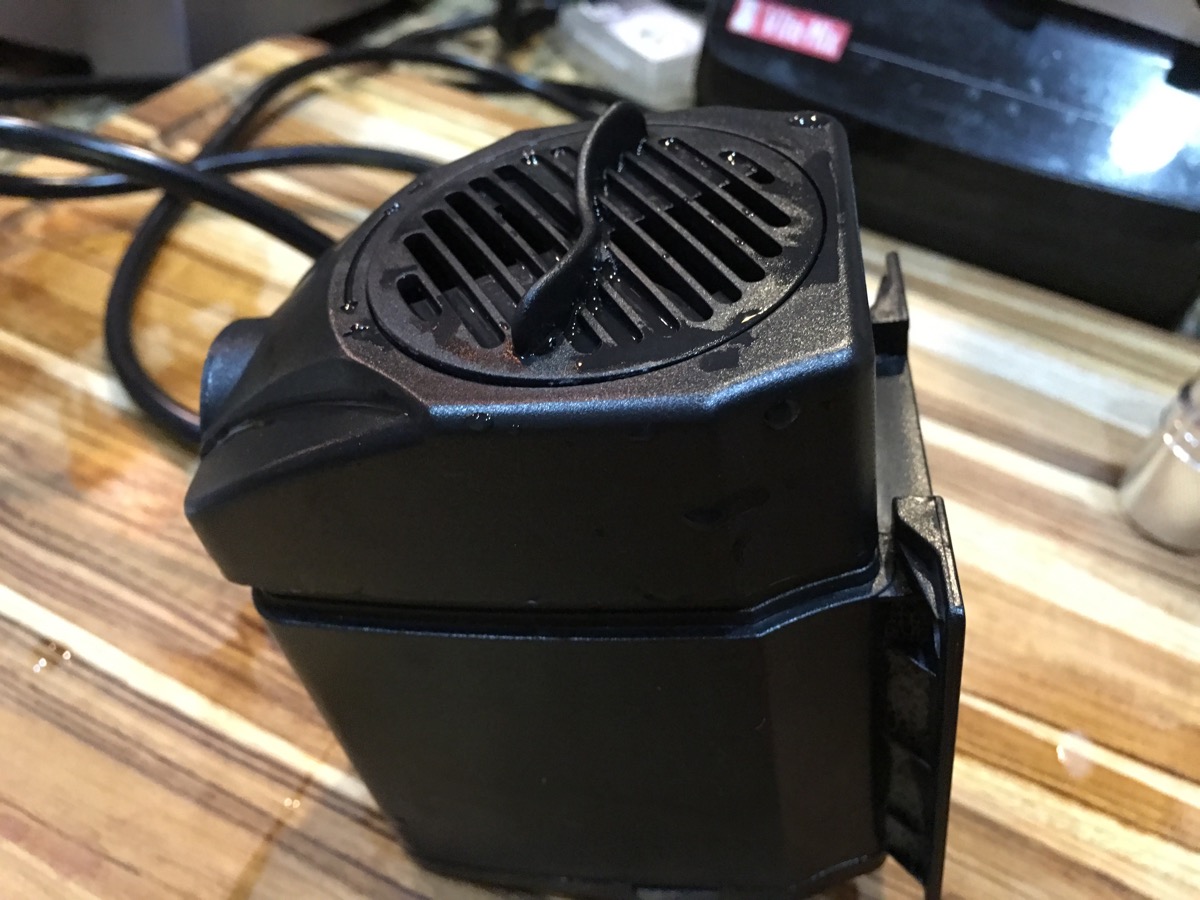
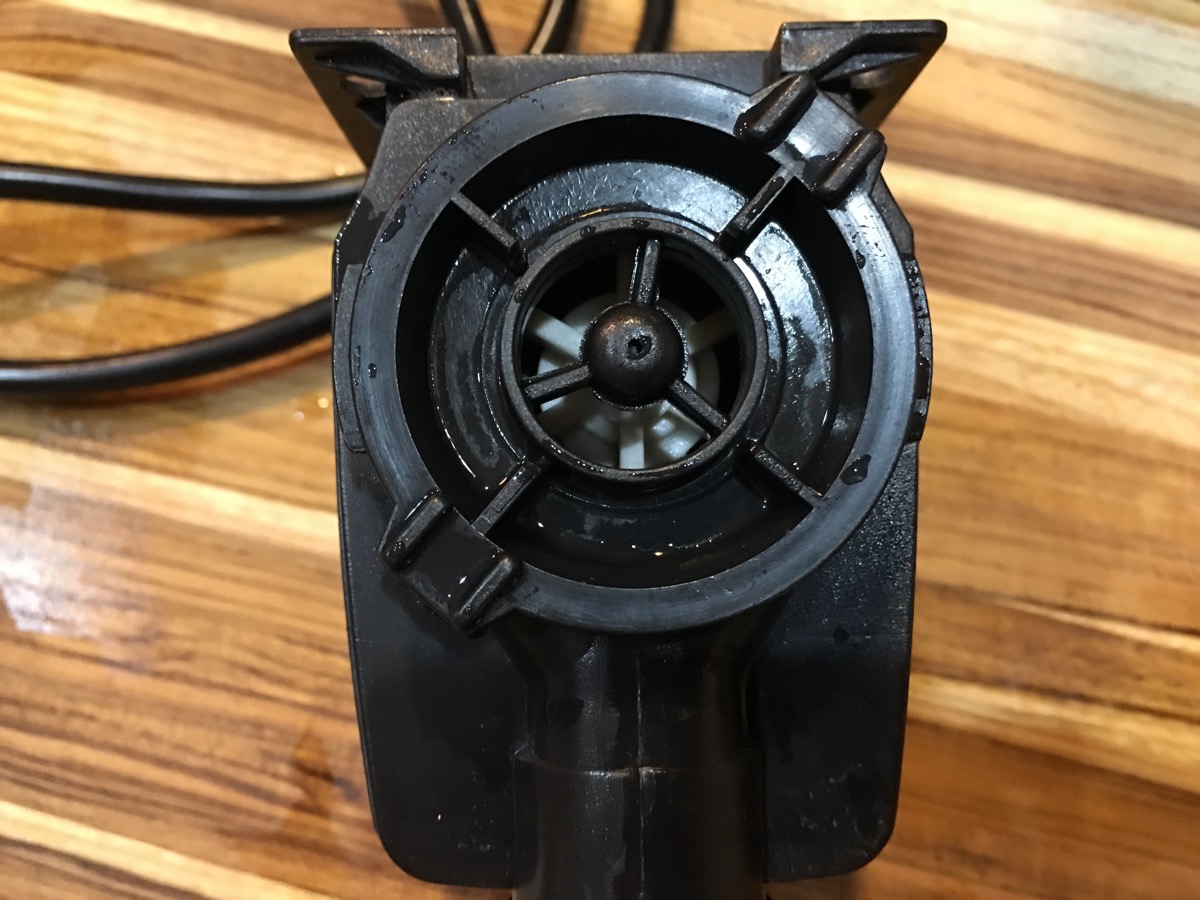
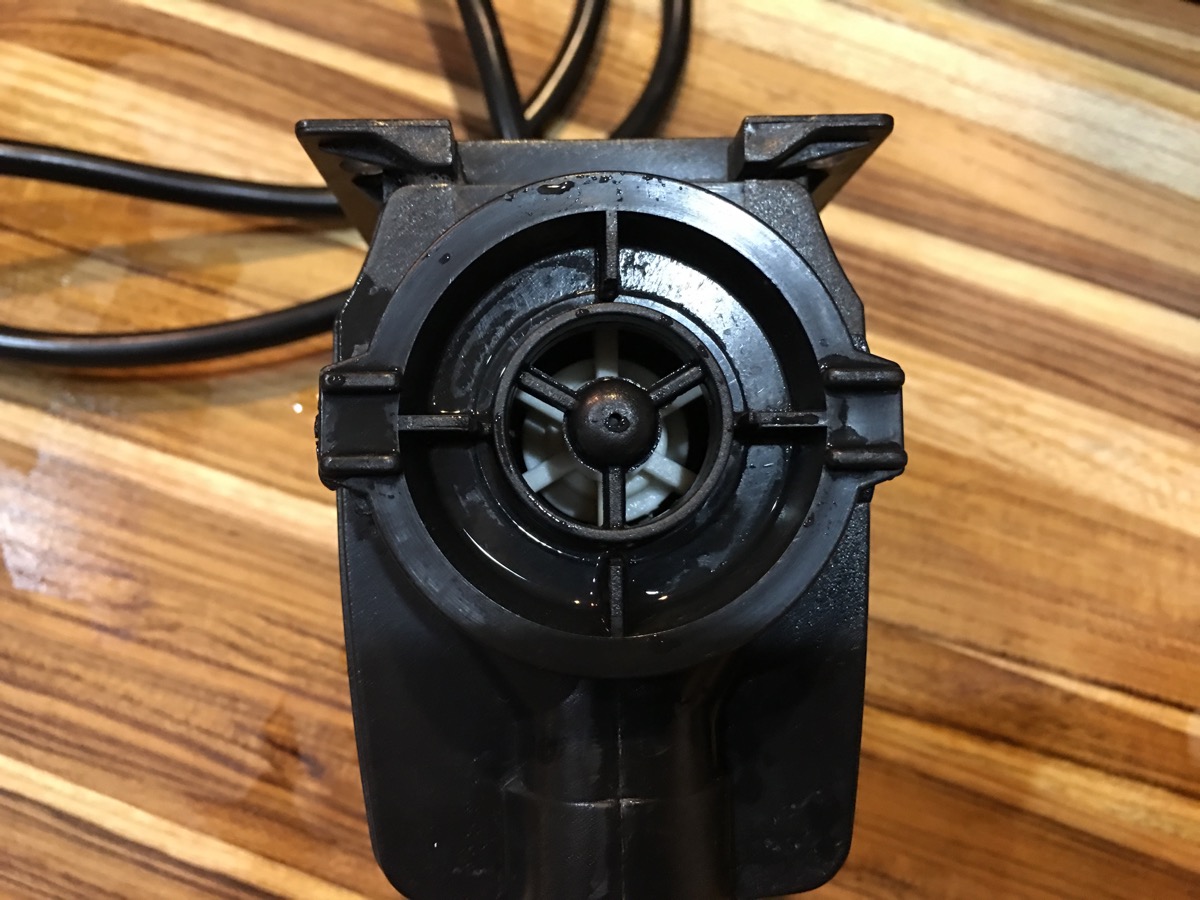
First we need to take the shroud off the front of the pump. This is the part with the adjustable vent. Carefully sliding a knife or a thin screwdriver along the seam should loosen it and allow it to snap off. Use gentle pressure.
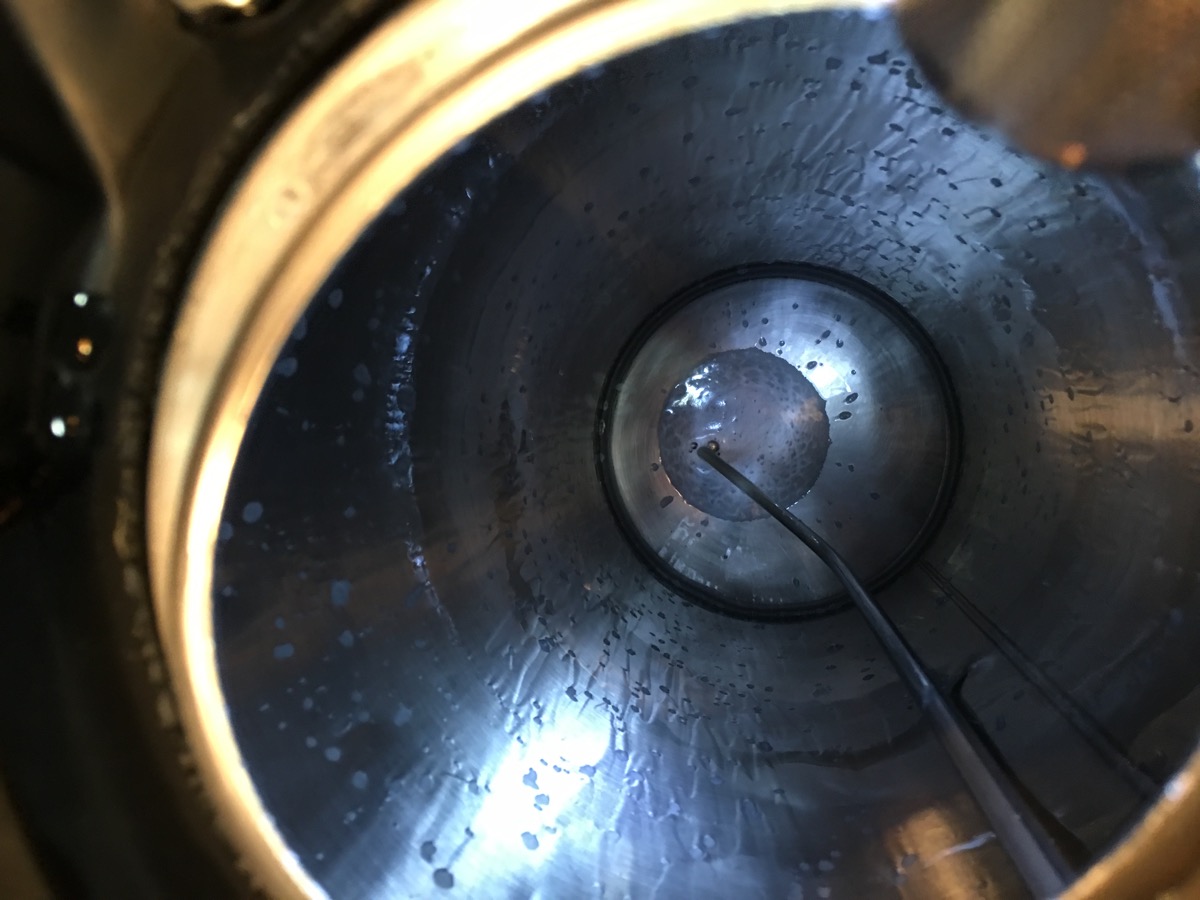
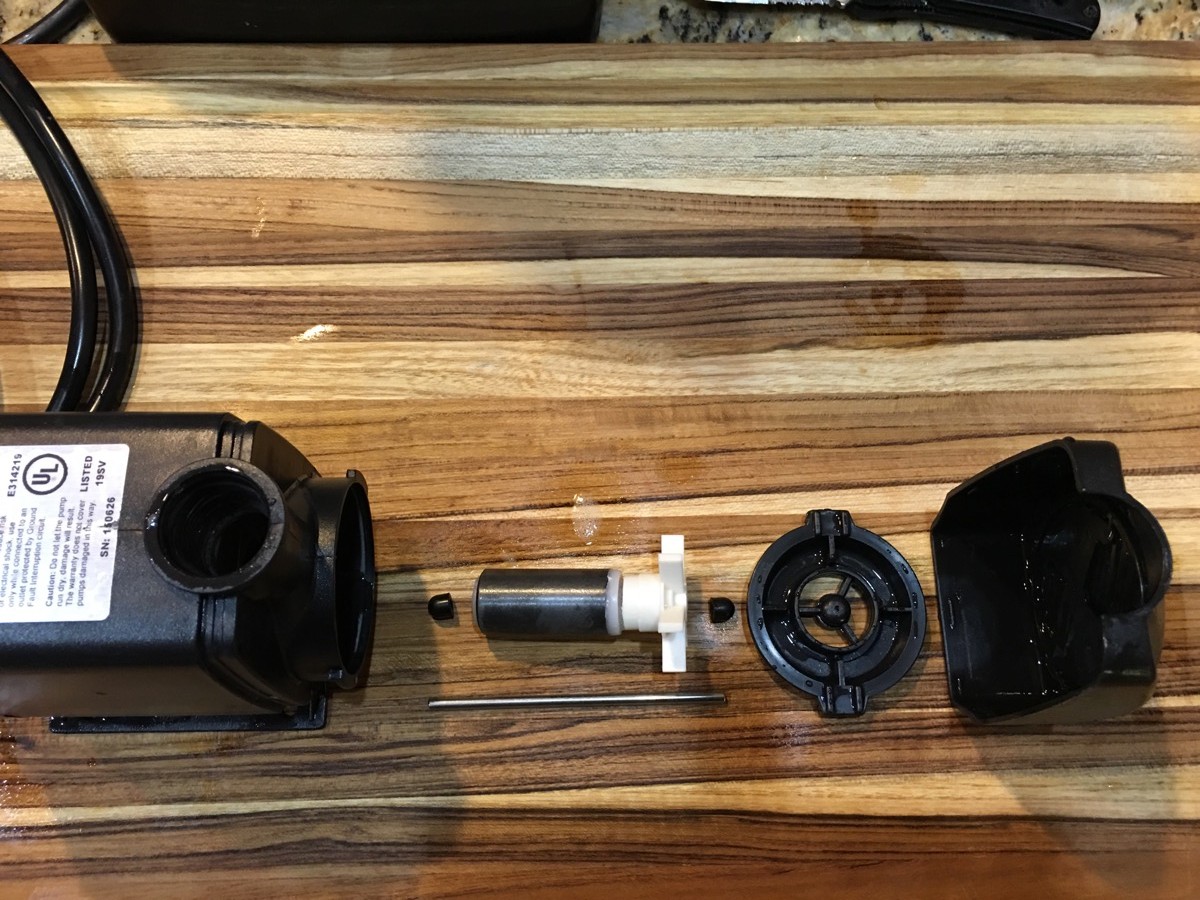
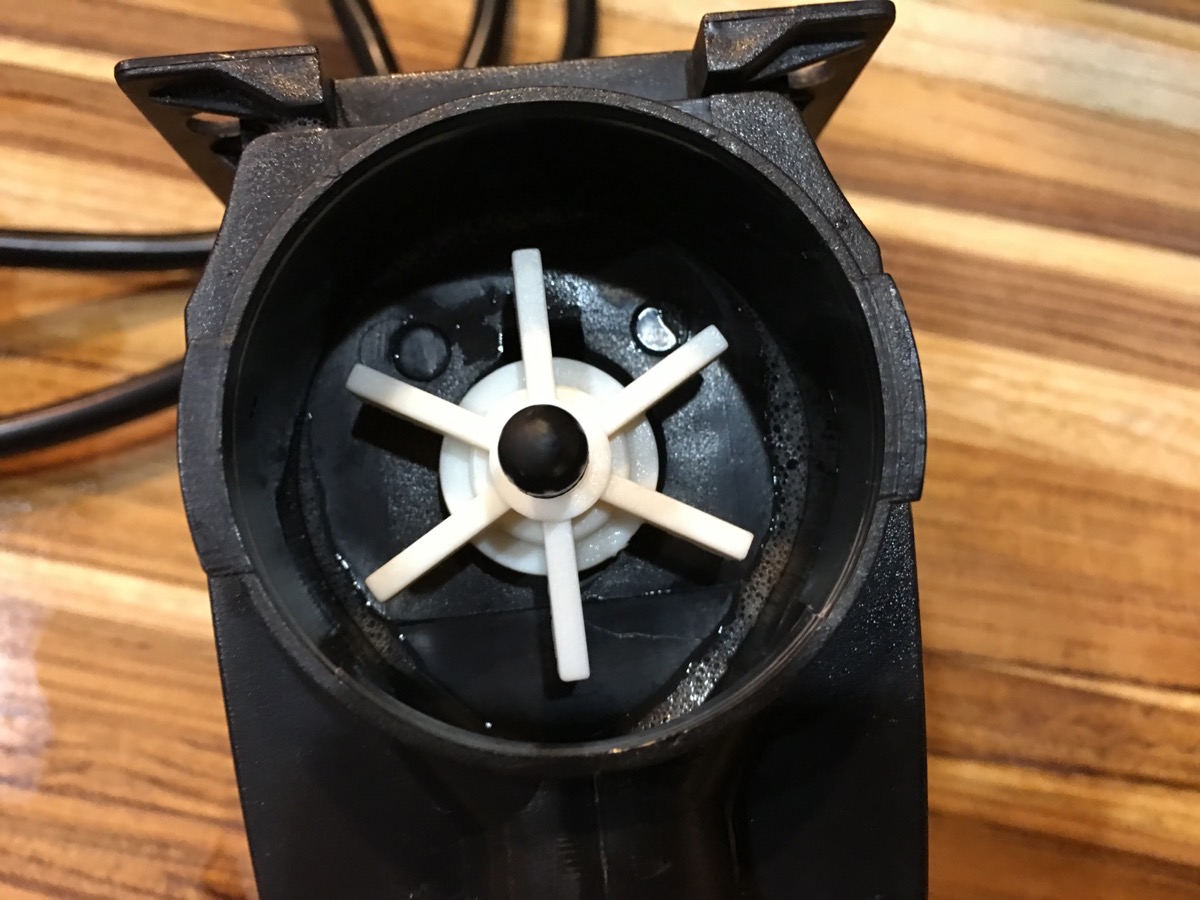
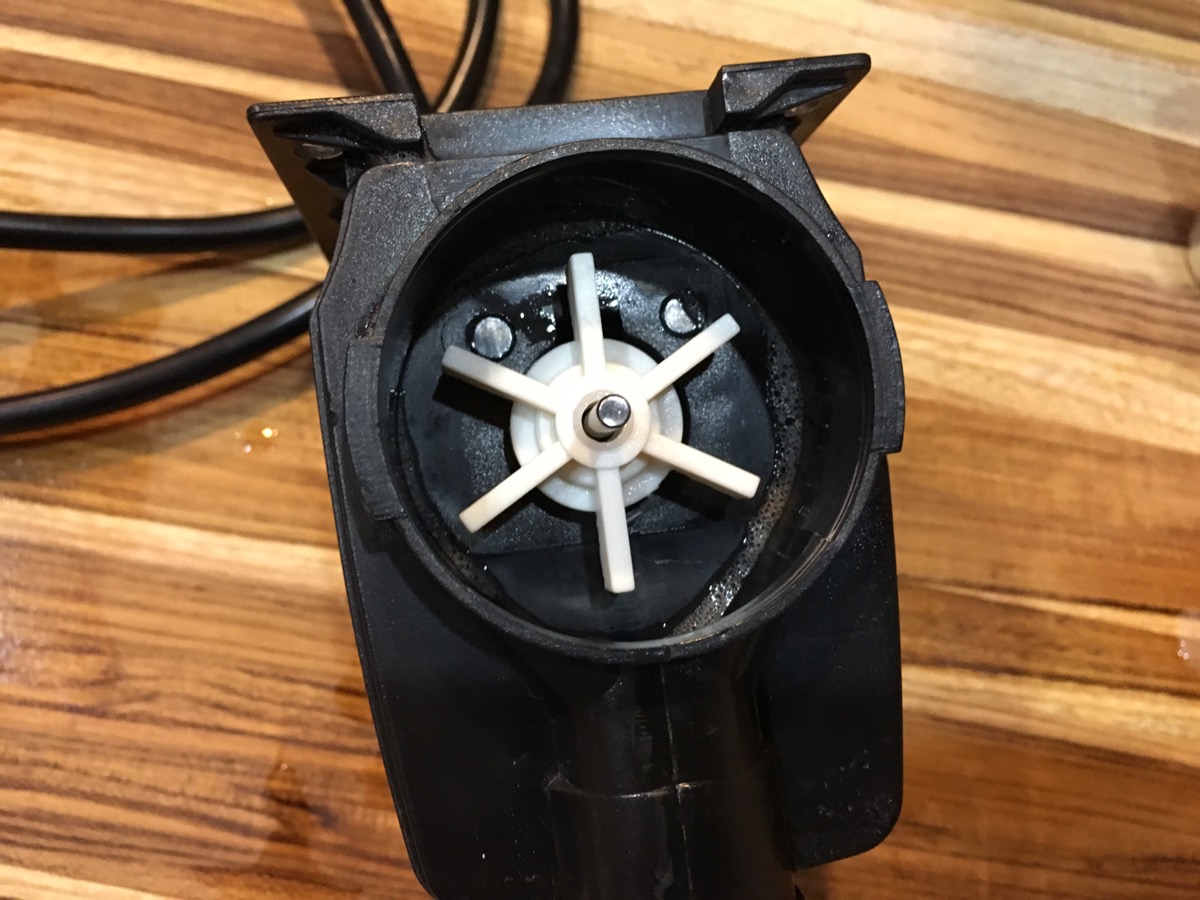
Next we need to remove the front of the housing. This round part will turn counterclockwise about 1/4 turn to free the clips. This pops right off. Inside is a small steel shaft, the impeller mechanism, and 2 little rubber caps on each end of the shaft, the second seated in the back of the pump. With care, you can easily pull this assembly out. See below.
I removed the magnet and the impeller, and replaced them with the new assembly. Because of fat fingers, I needed needle nose pliers to get a grip onto the magnet. Putting this back together, first, make sure one of the rubber caps fit into a little space in the back of the pump.
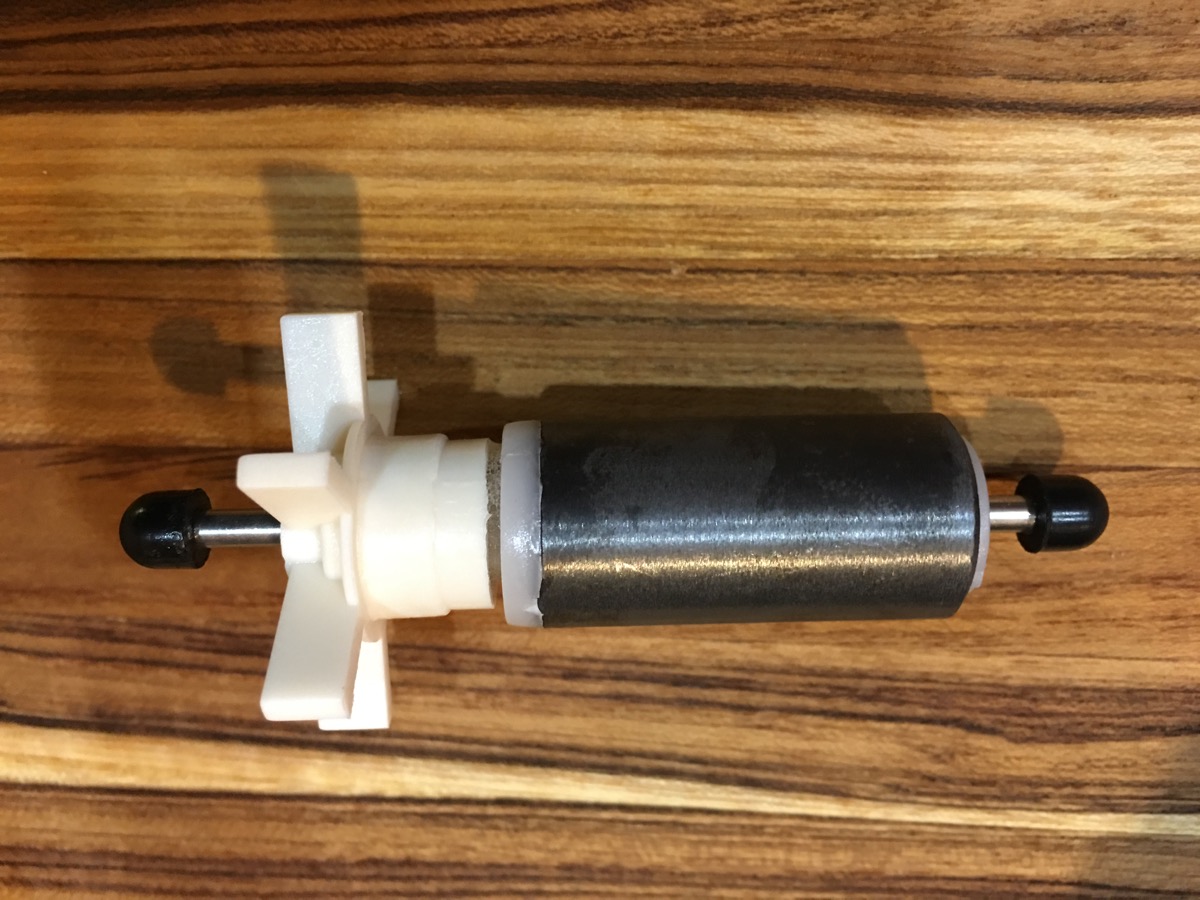
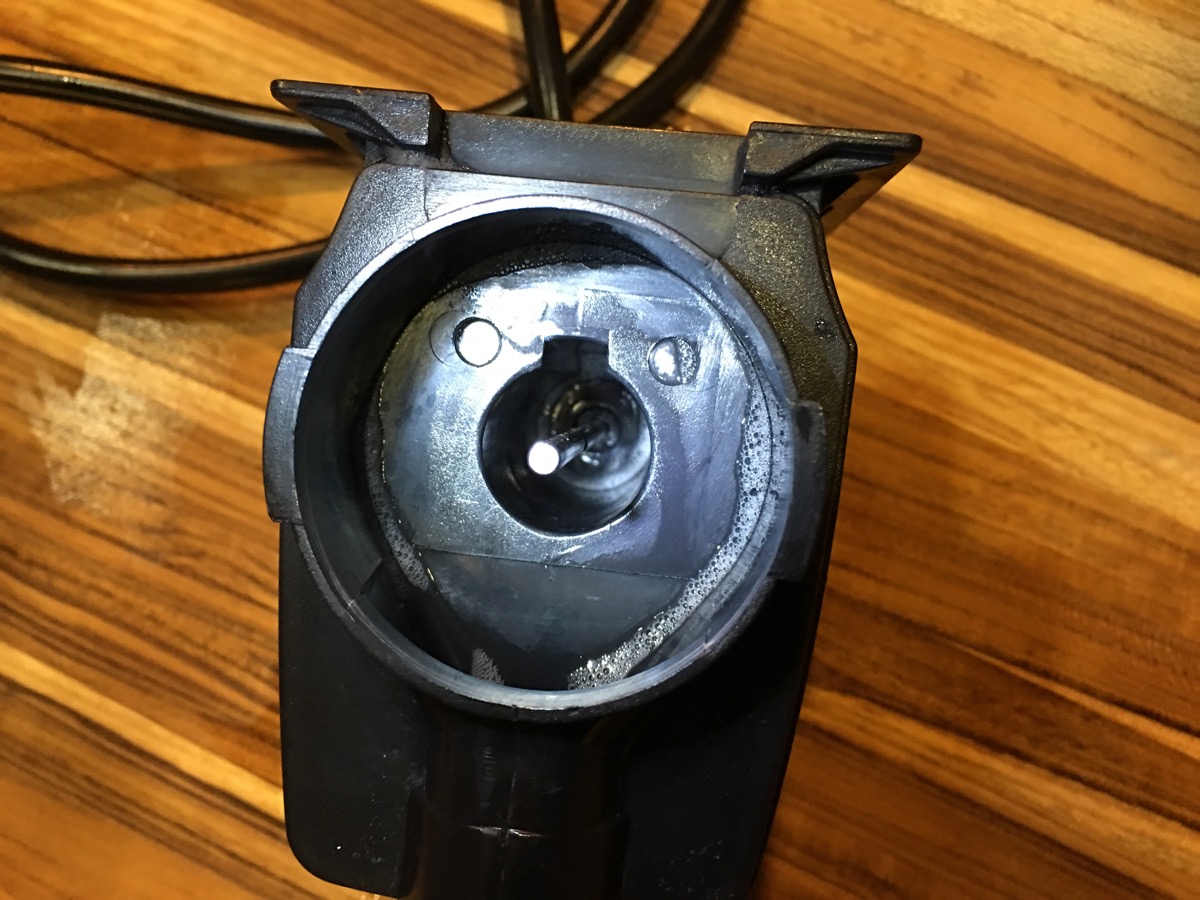
The shaft should stand upright when inserted into the space with the cap. Then insert the impeller assembly with the magnet first over the steel shaft. It should pop into place as the magnets grab. A tiny bit of food grade oil will help the pump to spin more efficiently.
Place the second rubber cap on the shaft and replace the round housing front. There is another space where the rubber cap fits in the center - snap it in and turn clockwise to secure the clips. This securely holds the steel shaft centered in the pump. Snap the shroud back onto the front, and you are ready to go. A quick switch on/off of the power should confirm the pump is working (note, don't run the pump dry for any extended period of time).
All in all - this is an excellent piece of kit that I highly recommend. It is also refreshing to note that in the world of home brewing, our suppliers typically have outstanding and excellent support.