Over Complicated Home Brewing, Going Electric

If there is a theme to my personal homebrewing career, I over complicate everything. It is in my personality to over-engineer, and sometimes my solutions are laughable. That said, after letting my brewing lapse for the past year, I am looking for a new start and a solution to two main issues.
The problems to address: brewing in the summer heat in Central Texas, and chilling wort. Of course, this is less an issue in the winter down here, but if both can be addressed efficiently, brew sessions will be that much better. The goal is to have a comfortable place to brew and have a consistent chilling process regardless of the season.
A New Brew House
I decided to go all electric with a brewery system large enough to mirror volumes from the Brew-Magic, but also with some controls for step mashing, etc. I like the flexibility of brewing 5 to 12-gallon batches. I have also had my eye on the Blichmann kettles for some time and looking at the 10-gallon Blichmann Brew-Easy system was a natural place to start. With the heating energy going directly into the liquor efficiently, I will now avoid blowing a ton of additional heat into my garage, as well as save some money on propane refills.
I had my home electrical system evaluated, upgraded, and installed a 30 amp / 240-volt outlet. I also added a breaker line specifically to isolate my fermentation freezers. I highly encourage using a qualified, licensed electrician. He found that my garage panel was heavily overloaded and not to code. He also noticed that I had substandard wiring feeding the second panel that was a serious fire hazard. Looking at the wiring in the attic, it was clear that the wire had overheated a few times, scorching the wire's insulation. We dodged something scary there.
The Brew-Easy is a two-vessel system, where the Mash Lauter Tun or MLT (15 gallons) sits on top of the Boil Kettle or BK (20 gallons). In the BK, the 240V Boil Coil, behaves like a RIMS system (they use the term Kettle RIMS or K-RIMS), heating the wort to the mash rest temperature, while it is being gently and continuously pumped over back into the MLT. The MLT outputs wort via gravity into the bottom BK. A 240V Tower of Power controller with pump, valves, and flow controls make it all work.
Eventually, I will install Blichmann’s Whirlpool kit as well as the Float Switch (shuts off the coils should the level drop below coil levels if the mash sticks). For now, the entire system works as designed and I have tested with PBW solution, both through the MLT’s AutoSparge, and just running a line over the HLT and circulating. The RipTide upgrade nearly triples the GPM throughput.
I have brewed with the gas version of the Tower of Power before, so had some experience with the system. It is a tried and tested configuration, and while I had (still do) some reservations about the two-vessel, full liquor configuration, I appreciate the general simplicity. There are some modifications that I plan to make to the kettles, but essentially, the Brew-Easy is turn key.
I am not very impressed with the Tower of Power’s software and data cable solution for computerized controls. I don’t have much more to say about this than, it’s clunky and dated. But it does work and allows for some crude step mash automation. Maybe someday I'll opt for a BCS controller for actual network connectivity.
While BeerSmith 3 has Blichmann approved equipment profiles, the limitation on mash size is frustrating, throws volume errors with the full liquor configuration, and will take a bit to figure out. Looks like my mash profiles will need to be tweaked on a recipe basis to (a) keep the mash volume under 15 gallons, and (b) ensure at least 5-6 gallons of wort remain to cover the BK coils, and (c) still have an adequate water-to-grist ratio in the MLT. Moving the full liquor around with proper flow rates is going to be educational and perhaps a bit tedious.
The Modifications
First order: replace or upgrade the Tower of Power’s noisy old march pump. I have a separate Blichmann RipTide pump that I love. In looking at installing it onto the Tower of Power, it seemed like more trouble than it was worth, and I really didn't want to cut the cable.
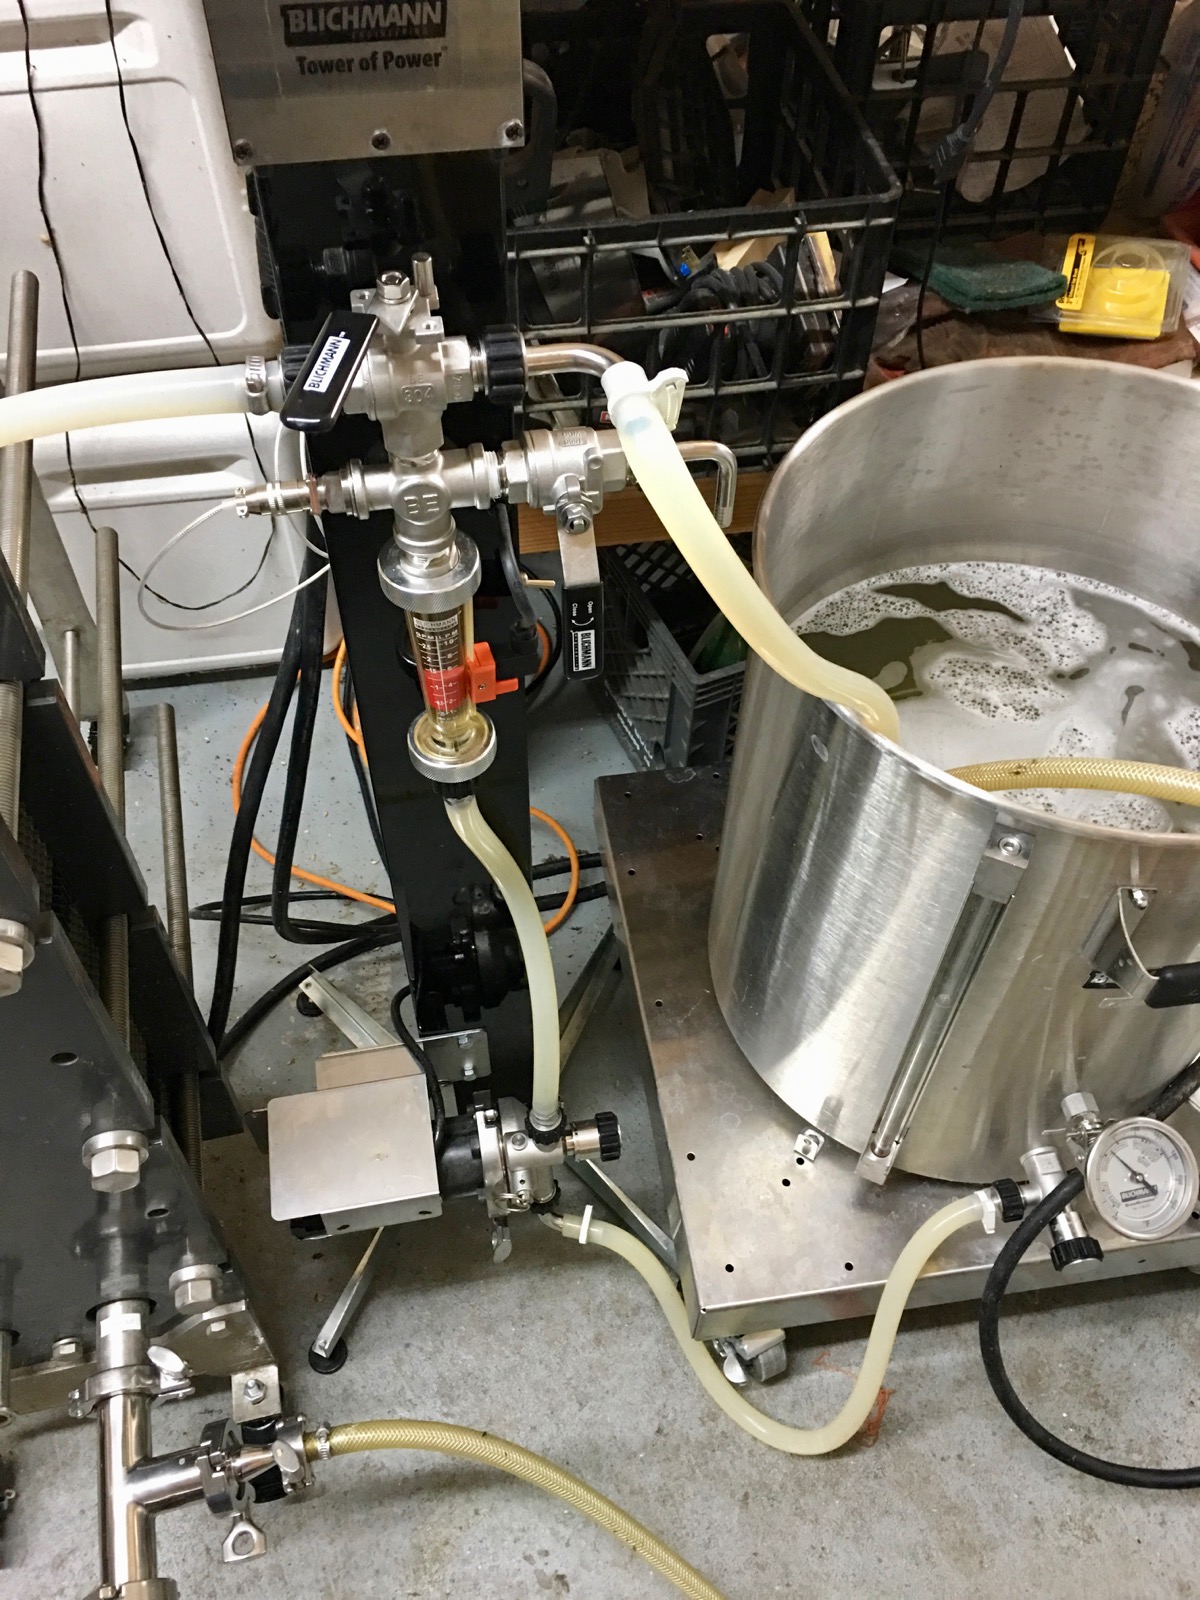
Blichmann sells a RipTide pump head upgrade for the march pump, which I decided to purchase. If you have a Tower of Power, RipTide's larger head assembly, with the tri-clamp design, requires the pump to stand off further from the tower, which was apparent as soon as I tried to place the tri-clamp. The installation of the new pump head is ridiculously simple. The installation onto the stand is not. My fat fingers didn’t want to fit into small spaces between brackets. The pump shield added to the nightmare. Still, got it done. FYI - it is really quiet but powerful!
I plan to eventually switch entirely over to tri-clover fittings, but working with a mix of the quick connects and tri-clover will at least get me brewing right away!
From a low oxygen process perspective, I have mash caps (aluminum cake pans) that fit the 15-gallon MLT and 20-gallon BK, and return lines that flow below the wort surfaces. I’ll need to modify the gravity feed from the MLT so that it feeds properly under the cap and wort in the BK, but that is easy enough. I haven’t run diagnostic metabisulfite tests (consumption) to determine O2 uptake, but will do so soon, and figure out a solution to allow me to fully purge the HEX and lines with CO2.
Right now, I am more concerned about quickly getting up to speed on mashing efficiency and any oddities that come with brewing K-RIMS. This may include changes to crush, looking at deltas between the controller temperature and actual in the MLT, etc.
Chilling Overkill
My second challenge is to figure out this chilling issue. I had a couple of options. Get a good immersion chiller, utilize my existing counterflow chiller, or…
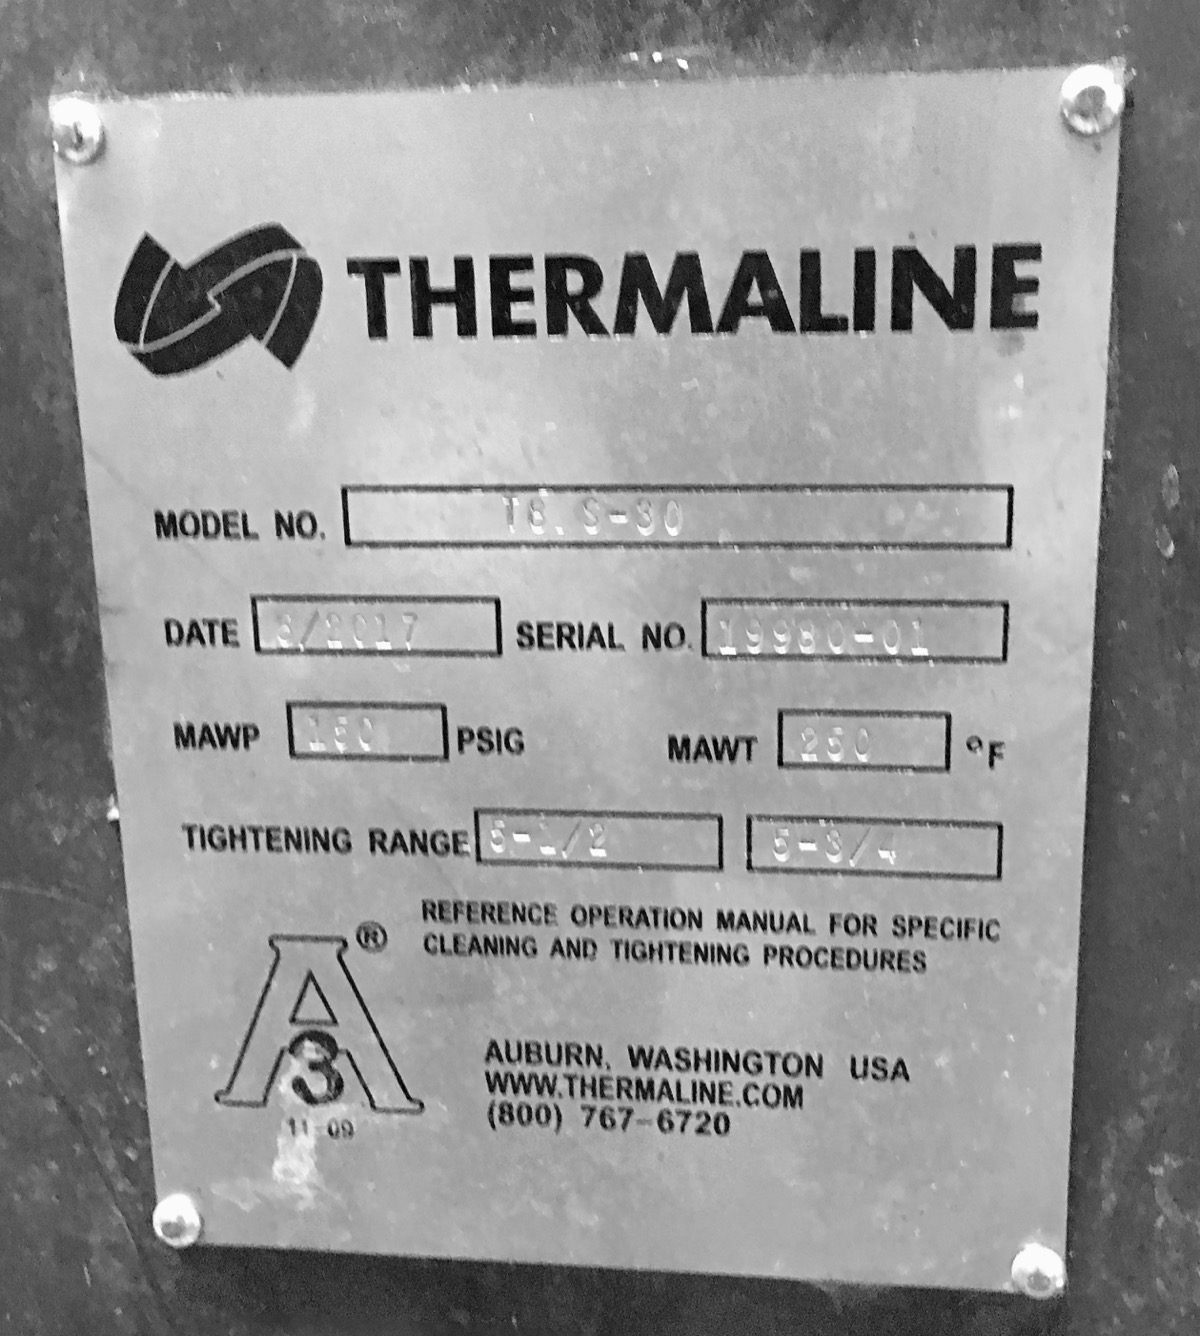
I went with “or” when a local cidery advertised their 48-plate HEX for sale on deep-discount. I figured I could flip it to a commercial brewery worst case. When I say deep - I mean, cheaper than a good quality counterflow chiller for home brewing! So now, I own a 185# monster Thermaline HEX. I even installed wheels on it - so it is now barely portable.
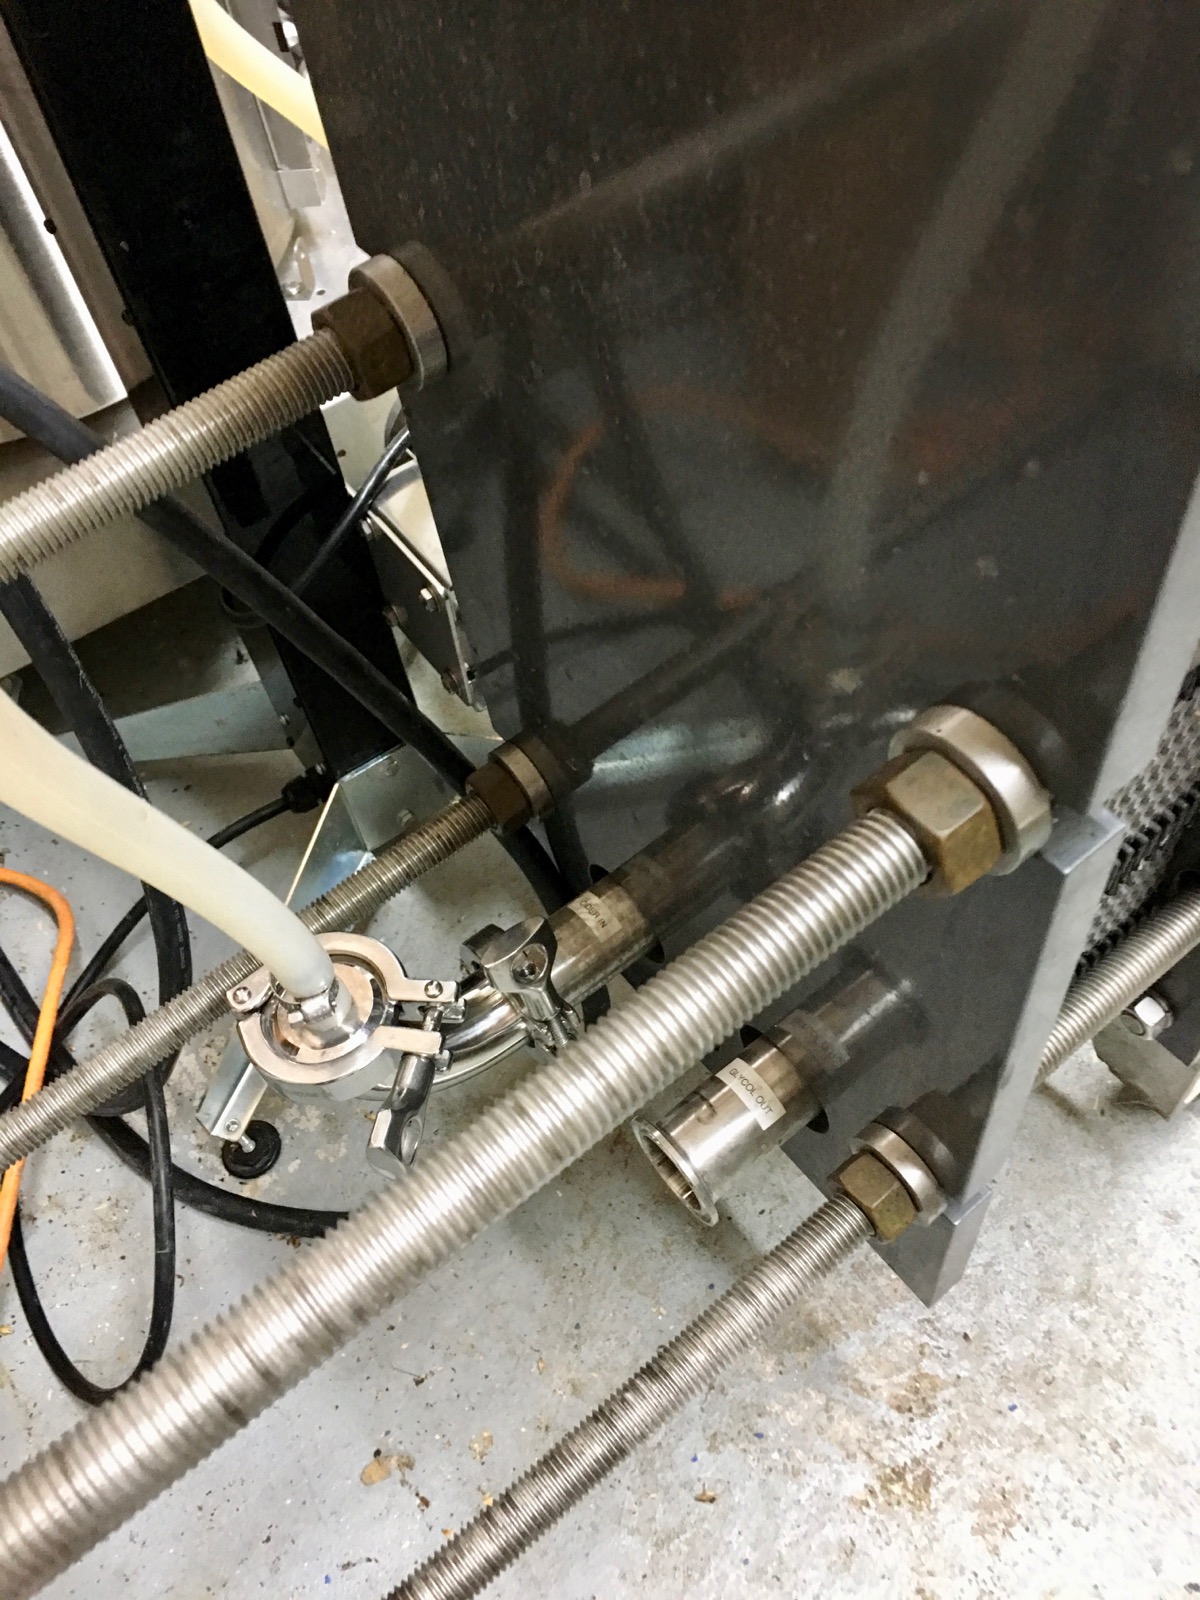
I kitted it out with 1 ½ inch tri-clamp fittings and added an elbow that will allow me to have a thermowell on the output, with reducers to work with my ½” tri-clamp gear. I got this all knocked out easily, and using PBW, ran a long and very hot circulation through the HEX. I was blown away by the flow rates. With the Tower controls, I can run slowly at 1/2 GPM or crank it hard and fast. I’ll easily be able to do a slow wort run while cranking the cold side water/glycol mix at 4-5 GPM (see the videos below).
[video width="1280" height="720" m4v="/content/images//2018/11/Untitled-1.m4v"][/video]
[video width="1280" height="720" m4v="/content/images//2018/11/Untitled.m4v"][/video]
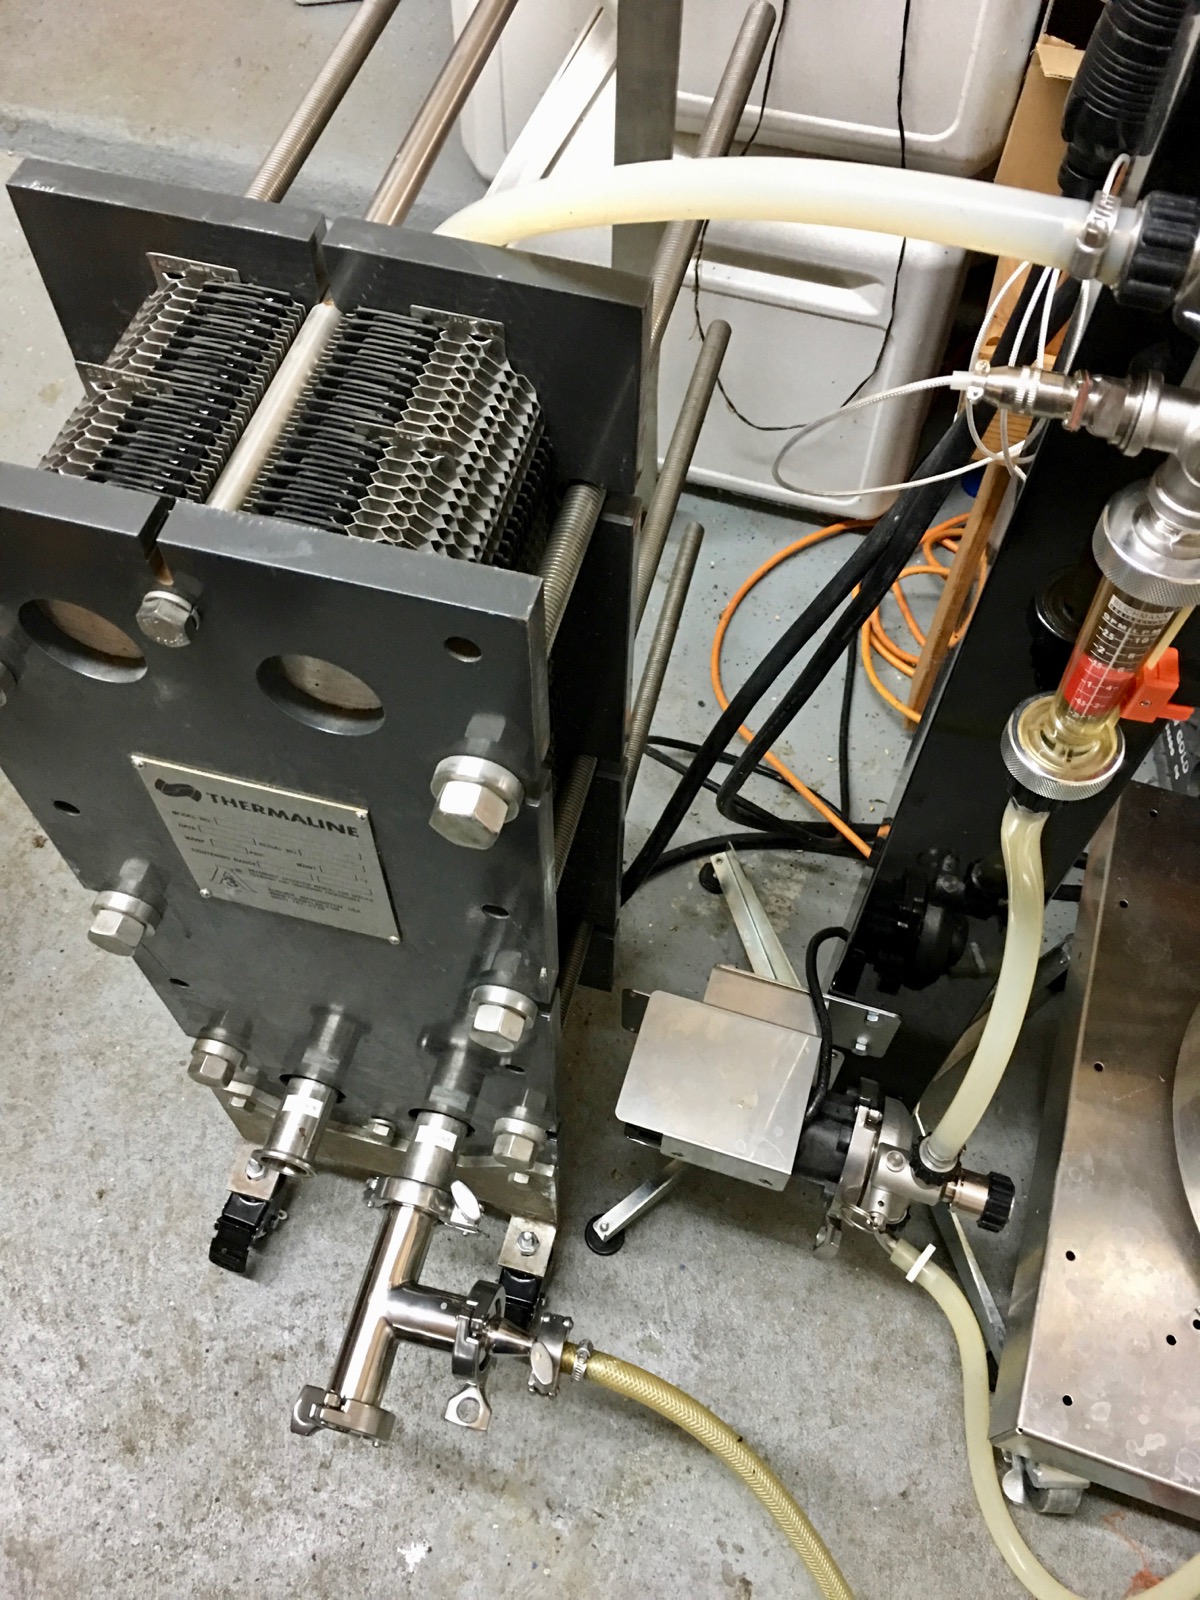
On the cold side, I am connecting a 15-gallon cold water tank, that will contain a 30% glycol solution, inside a fermentation freezer. I should be able to chill to about 28F, which should, by some magic, be adequate to knock down 180F (after whirlpooling) to around 50F with no real issues. Of course, there is no efficient cooling recovery method (like a glycol chiller), so we will see what the actual efficiency is. If I can get the wort down to 60F, it beats my old 95F temps from before! And much less time in the freezer to pitching temperatures. The plus side is also that I can use RO water for chilling and avoid the encrustations caused by using my 800+ TDS tap water.
Of course, one must ask how much volume the HEX is contributing to losses. My total chilling and hose loss is around ½ gallon, which can be collected and added into the fermenter or used as a vitality starter. I’ll rebuild my hoses to ensure proper sizing and minimizing loss there. At least I have a system that I can take apart to deep clean and sanitize thoroughly when needed.
A New Start
I am fairly chuffed about the new system and anxious to start brewing on it this weekend! Wish me luck.
PS: I am keeping the Brew-Magic for now. I need to do a thorough deep clean and get a good tarp for it. I may uncover it to do a double brew session occasionally. I am most likely selling my Grandfather kit, although it is useful for mead and smaller batches. Will see.


